Sections
Active Directory Lab Build - Configuring the DHCP server
This tutorial assumes you have completed the previous steps. We will now setup the DHCP server (mine is named DORA) to serve our domain with network information such as IP addresses, default gateways and DNS.
Setting the DHCP server IP address and joining the Domain
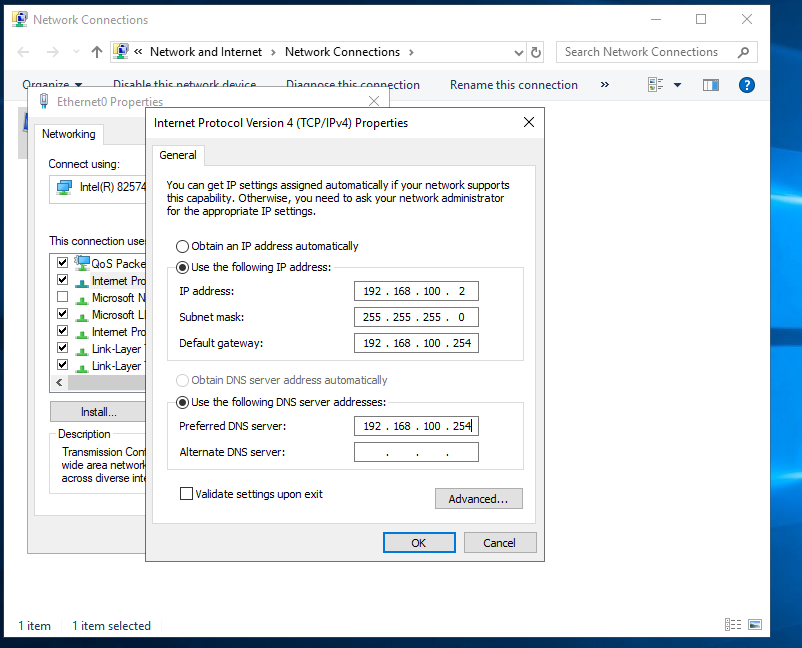
To use this server as a DHCP server for our domain, we must give it an IP address and join it to the domain we want it to serve.
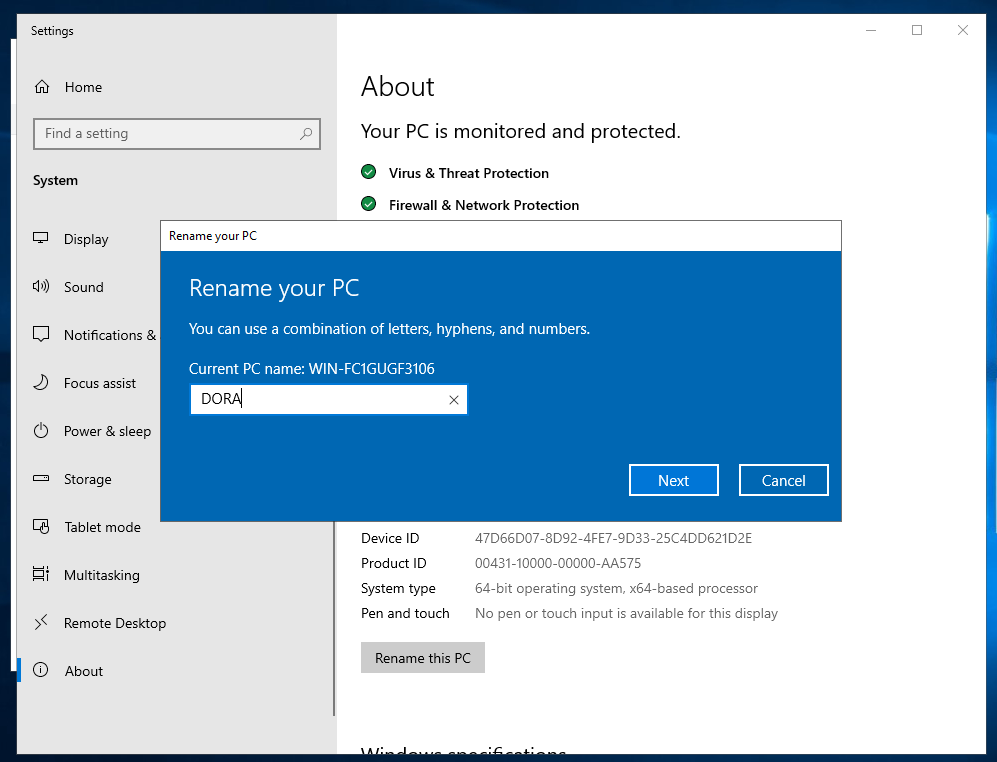
We will now give the DHCP server a name. In our case this is 'DORA'.
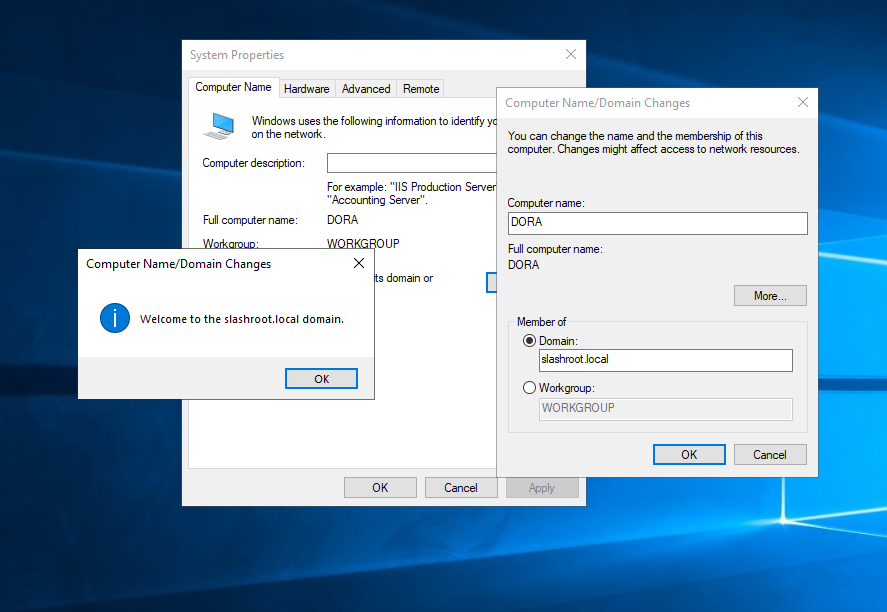
Next we will join the server to our domain. Remember you'll need to use a domain administrator account to authorise joining the domain.
Confirming settings and connectivity check
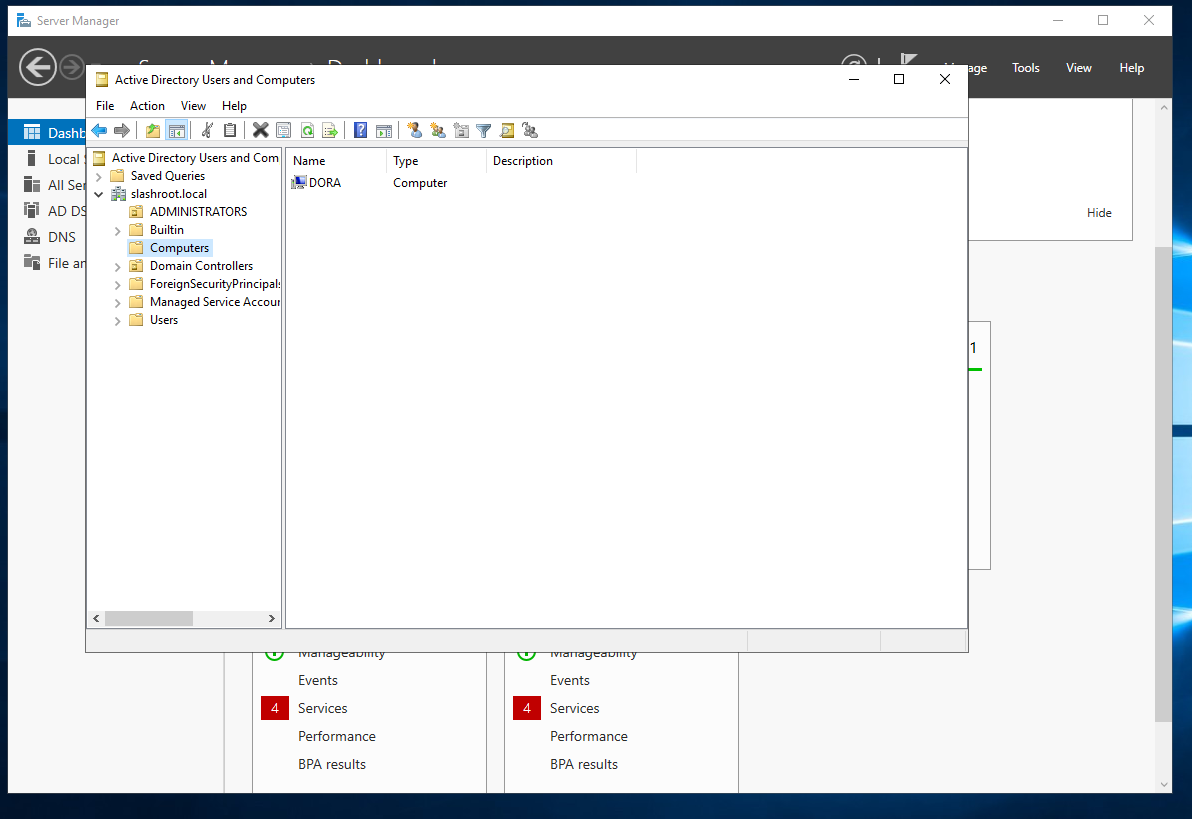
To confirm our DC has picked up our new domain joined server, log into the DC - BOSS.
Using the 'Server Manager', load 'Active Directory Users and Computers' from the 'Manage' menu. Select 'Computers' and you should see DORA, the server we just joined to the domain.
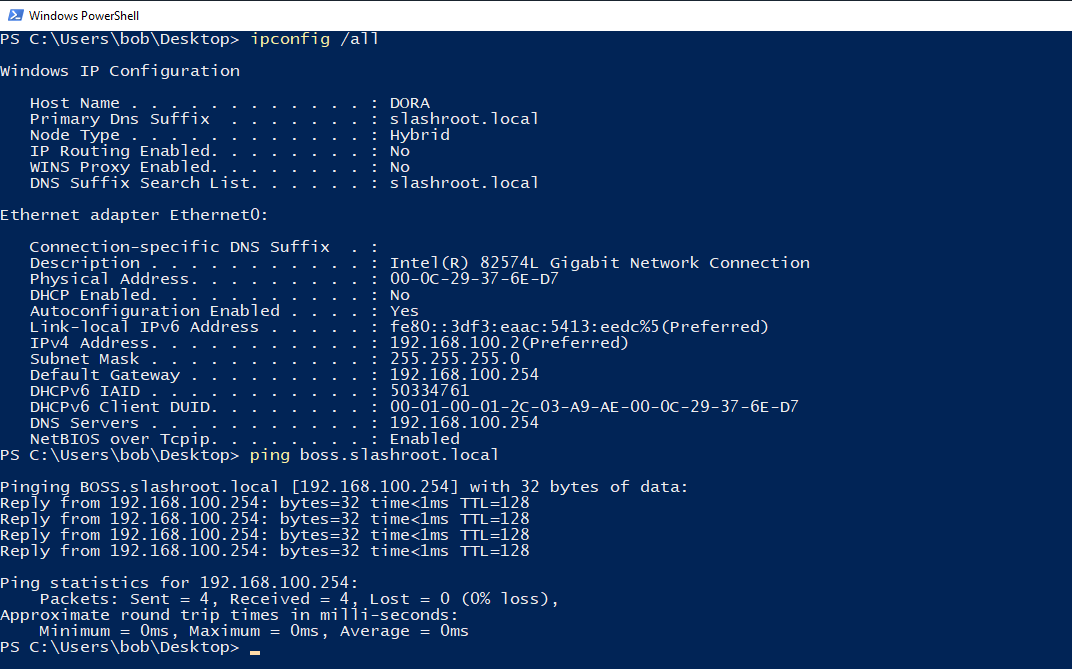
Back on the DORA server, load up PowerShell or CMD and run 'ipconfig /all'. You should see domain information.
We now need to add the DHCP role to DORA and configure the DHCP settings.
Adding the DHCP role to Windows Server
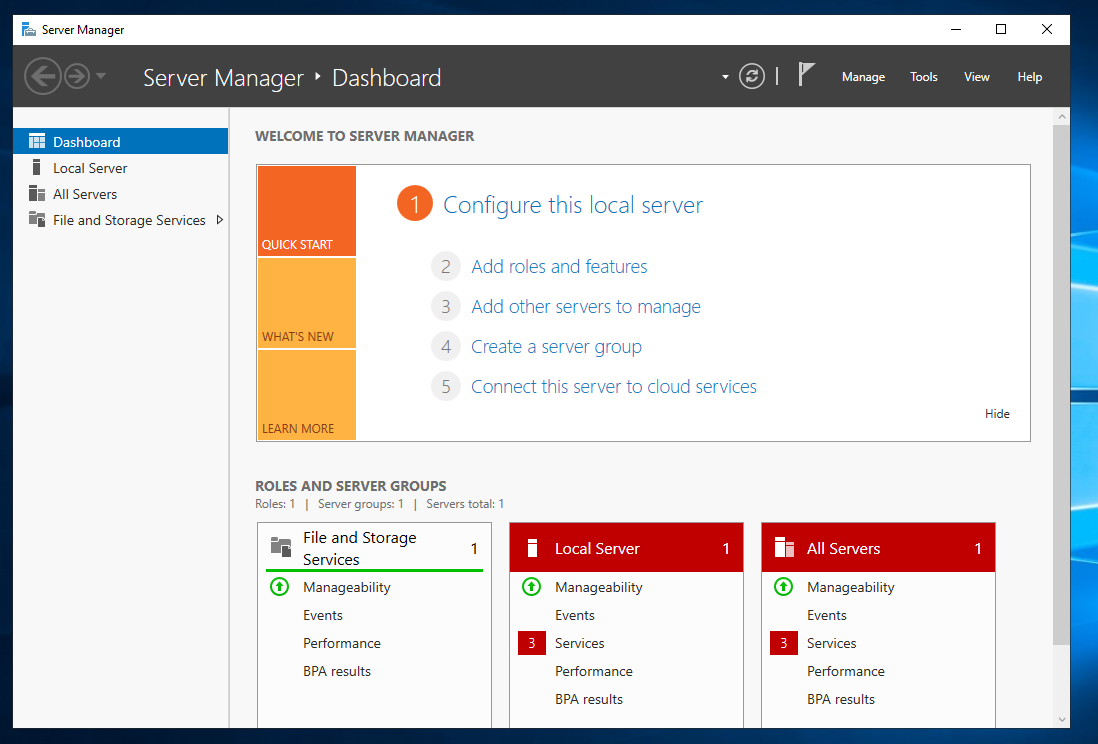
On DORA, load 'Server Manager'.
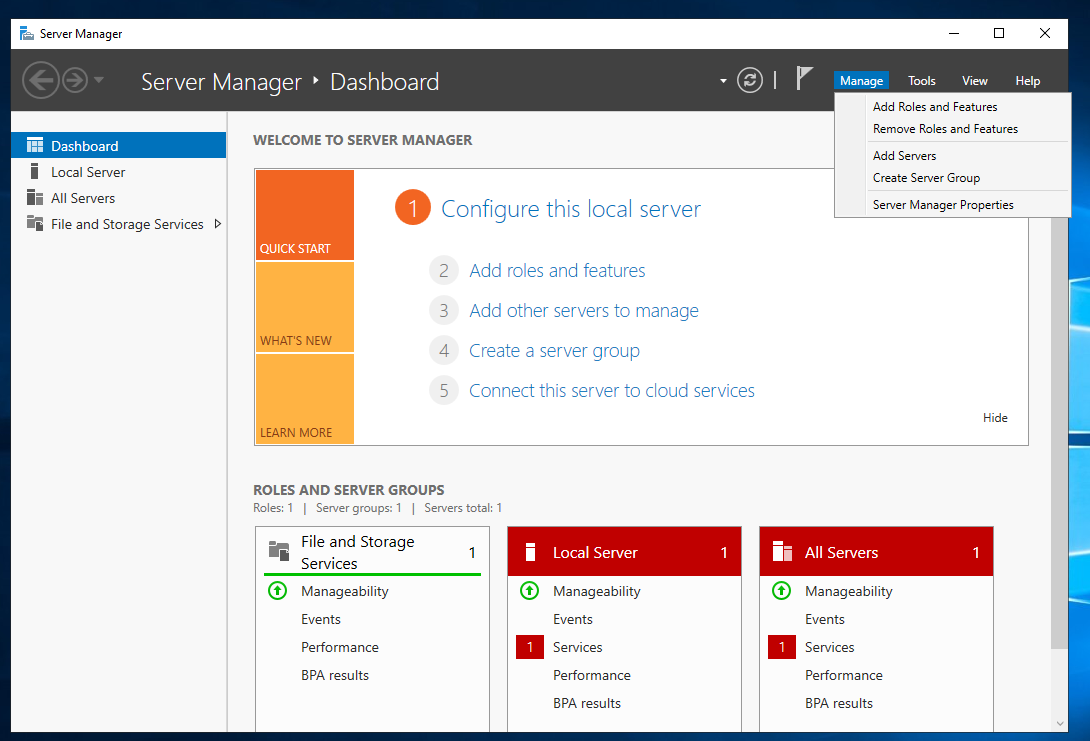
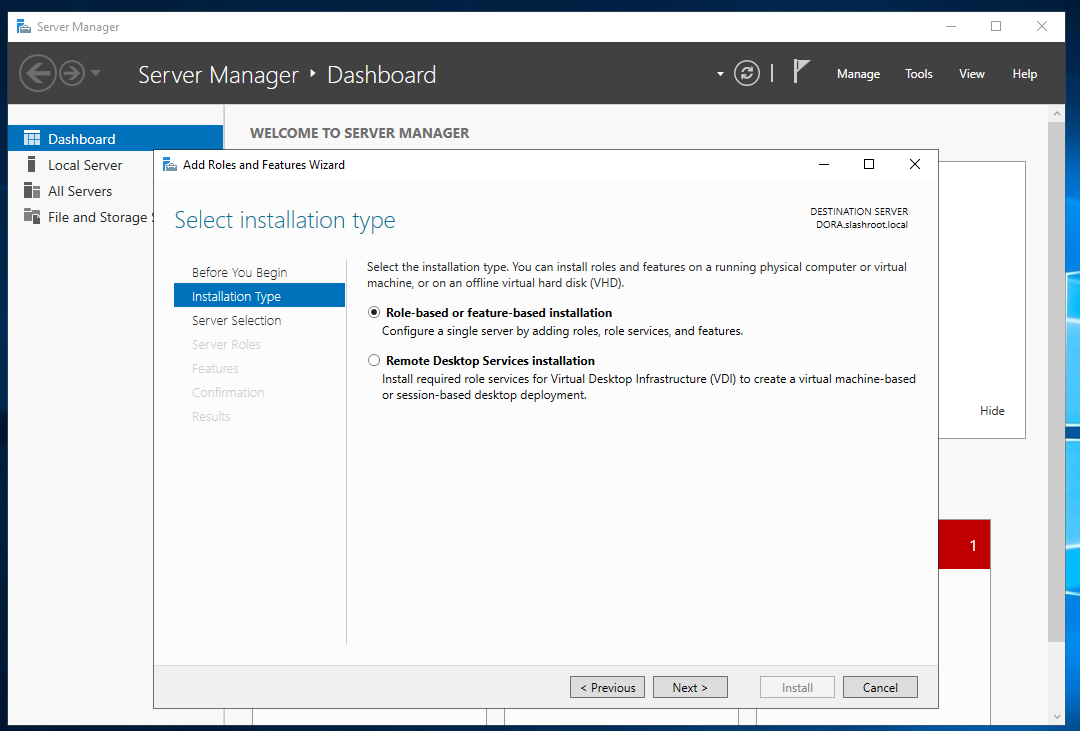
Select 'Manage' and then 'Add Roles and Features'.
Select next.
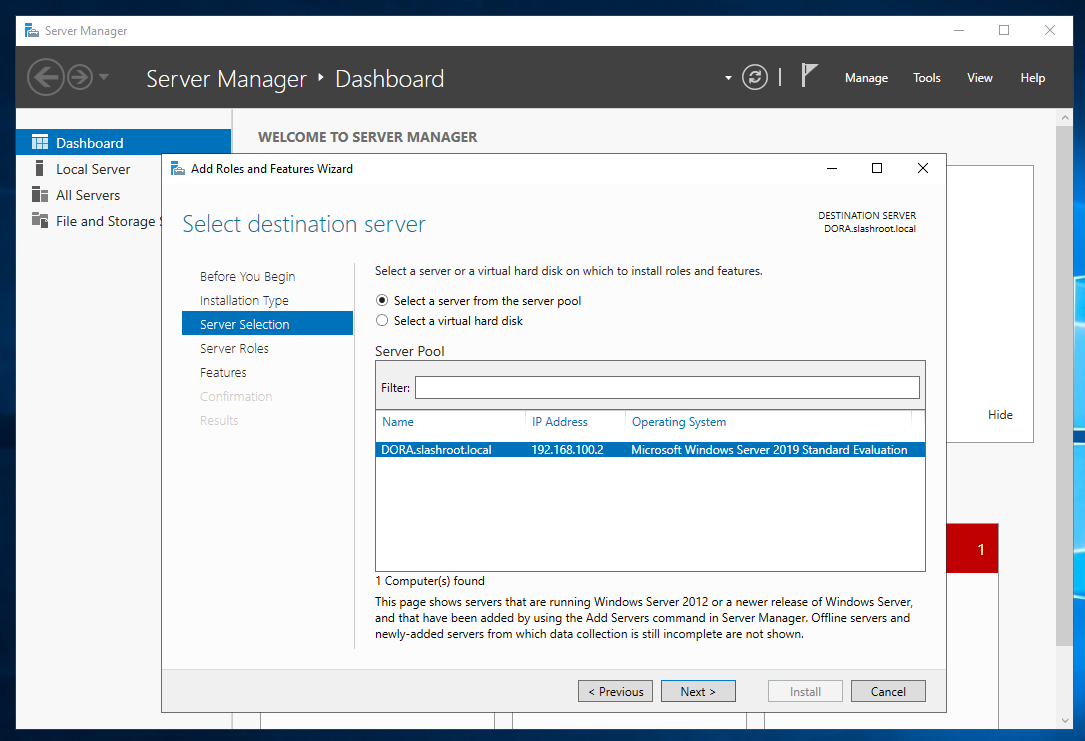
Select next (your IP address information will differ to mine if you used a differing schema for your domain).
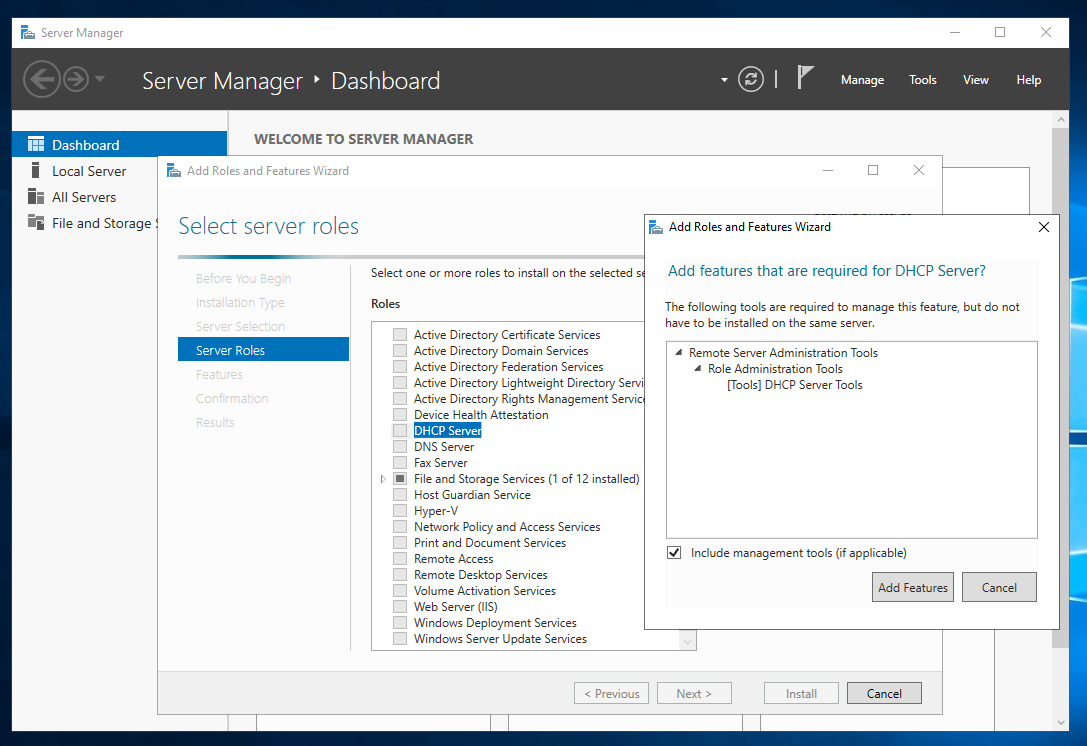
Select the 'DHCP Server' role and 'Add Features'.
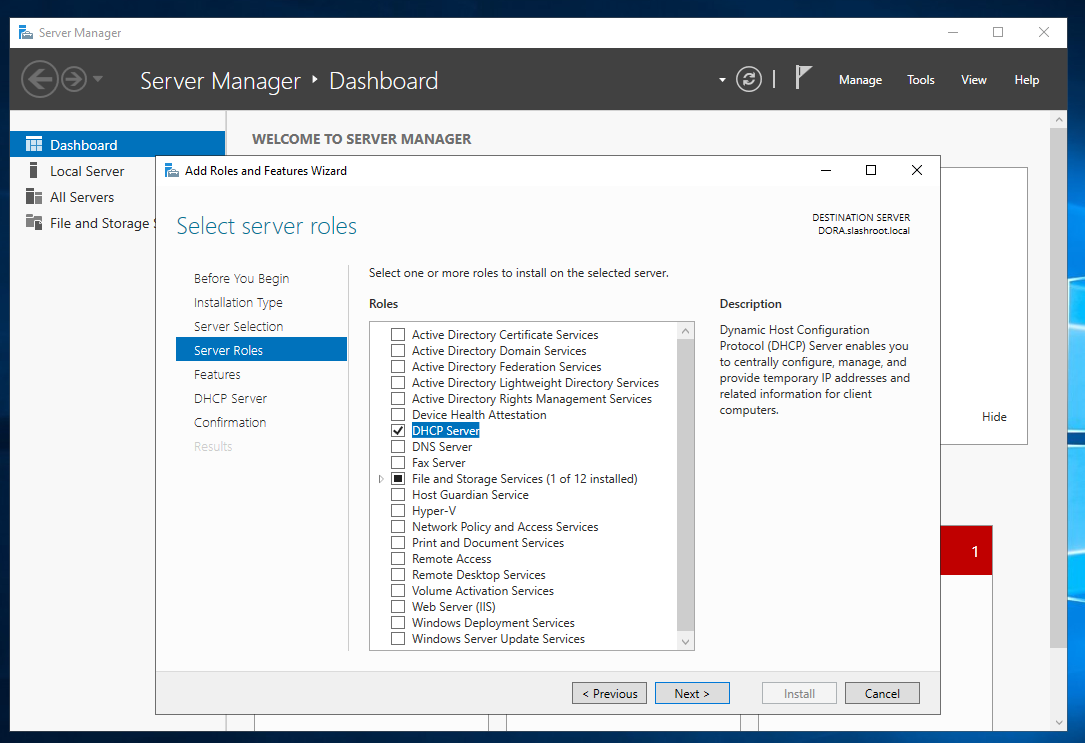
DHCP will now be selected. Click next.
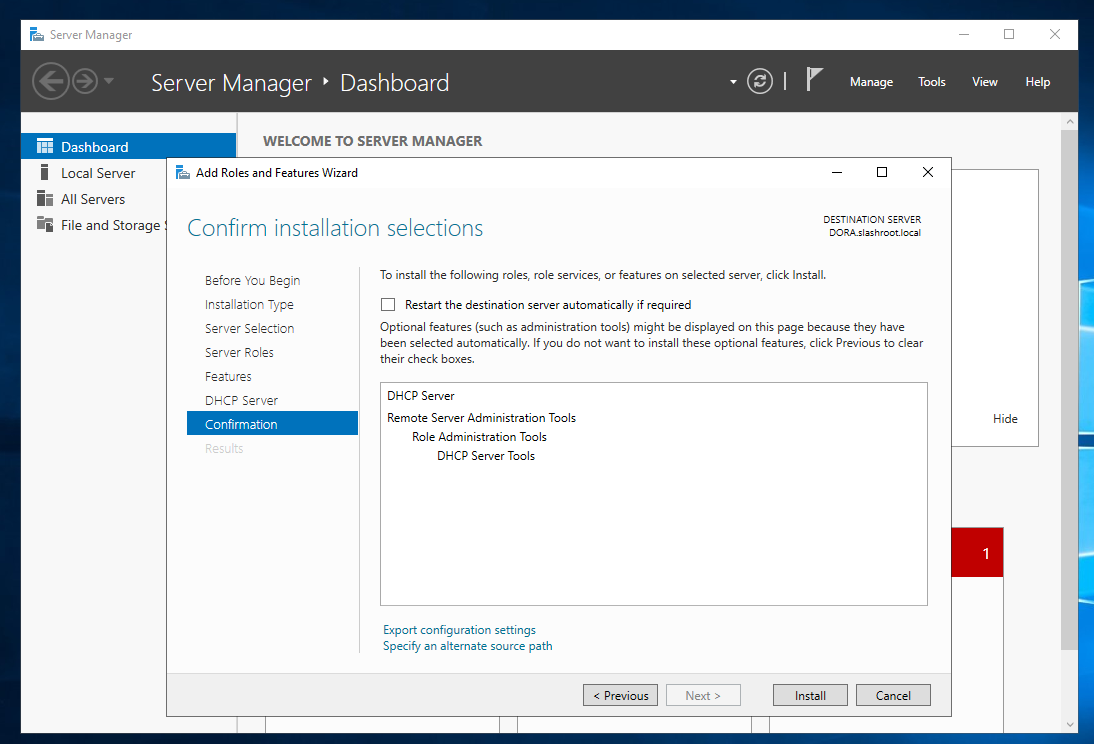
We are now ready to install the role. Select install.
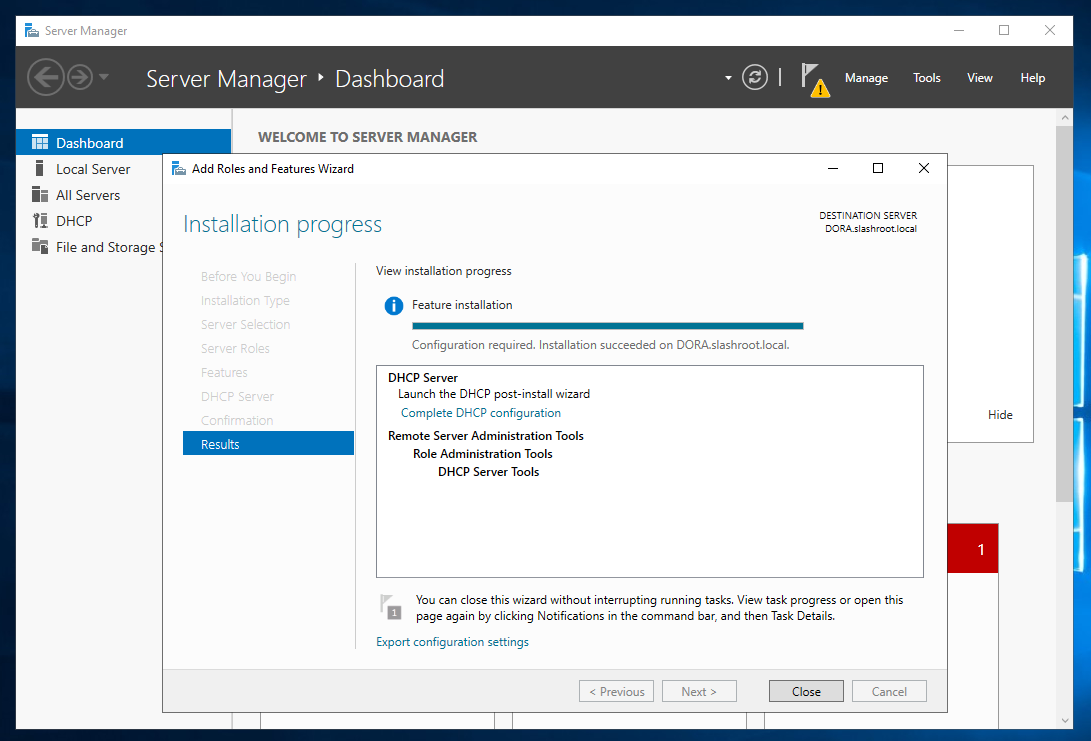
This may take a few moments. Once completed, select close.
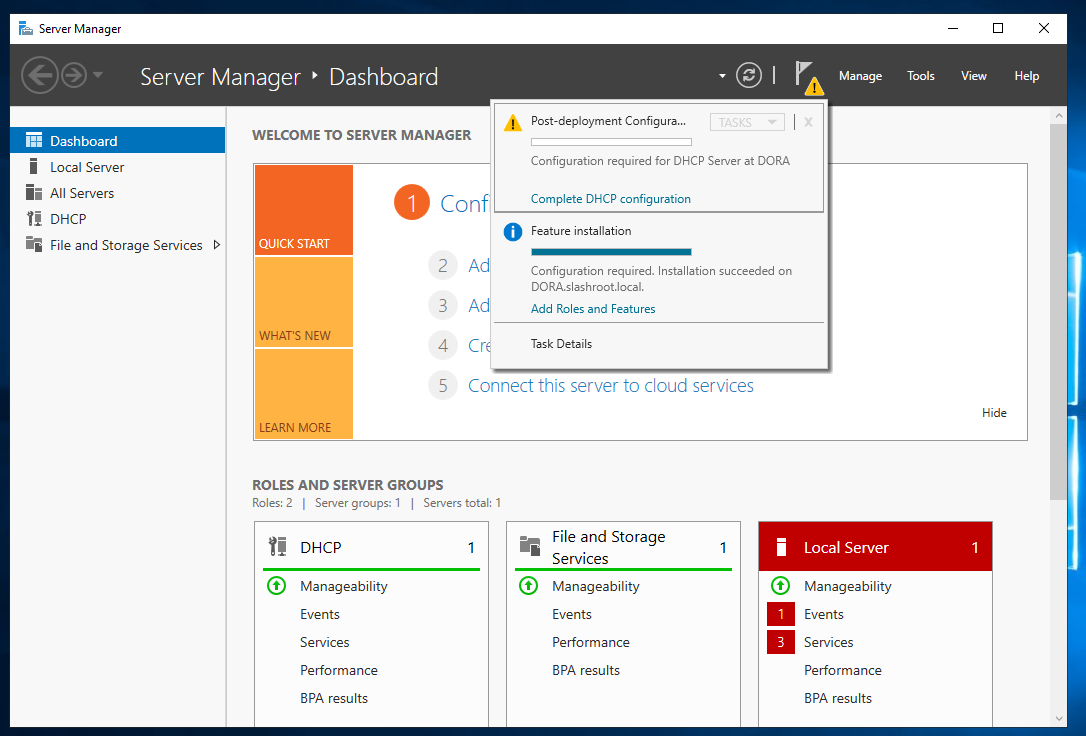
With the DHCP service now installed, however, before we can start using this DHCP server it needs to be authorised by a domain administrator.
Authorising the DHCP server
On the main server manager screen, you will notice a notification flag (!). Select this and 'Complete DHCP configuration'.
Select next.
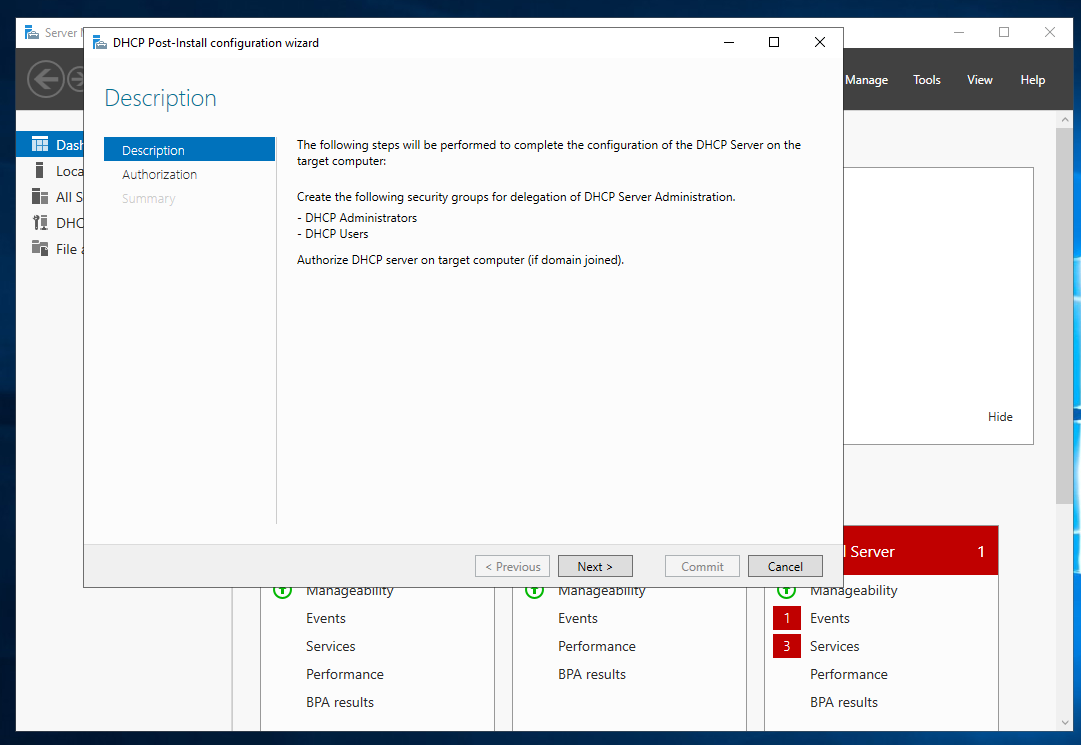
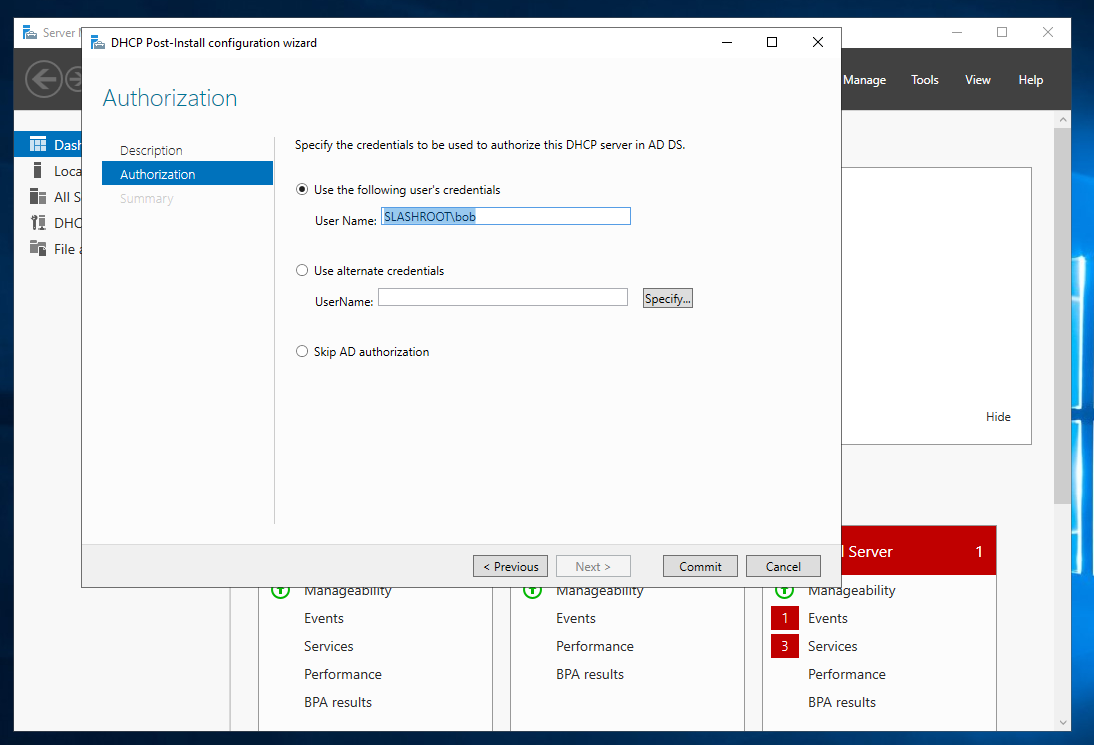
On the authorisation section, we need to specify a domain administrator. Select 'Commit'.
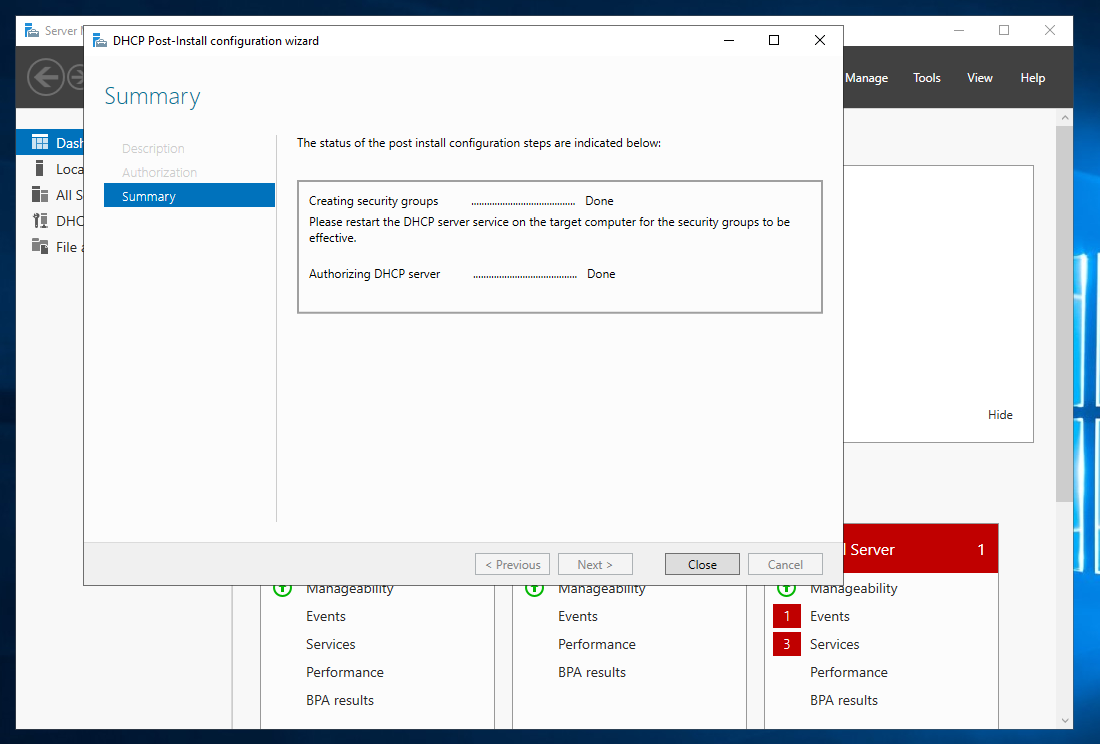
Select close.
The final step is to configure a scope of IP addresses we want to serve to the domain.
Configuring the DHCP server network settings
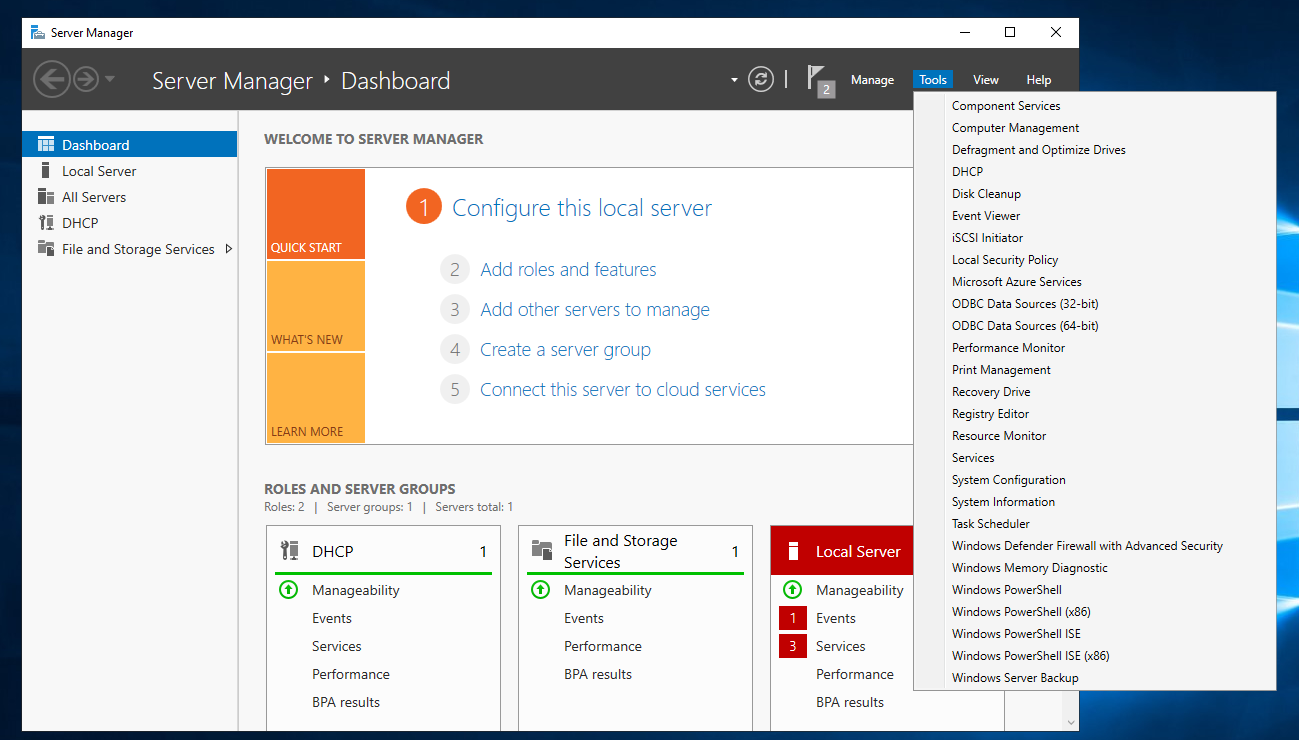
On the server manager select 'Tools' and 'DHCP'.
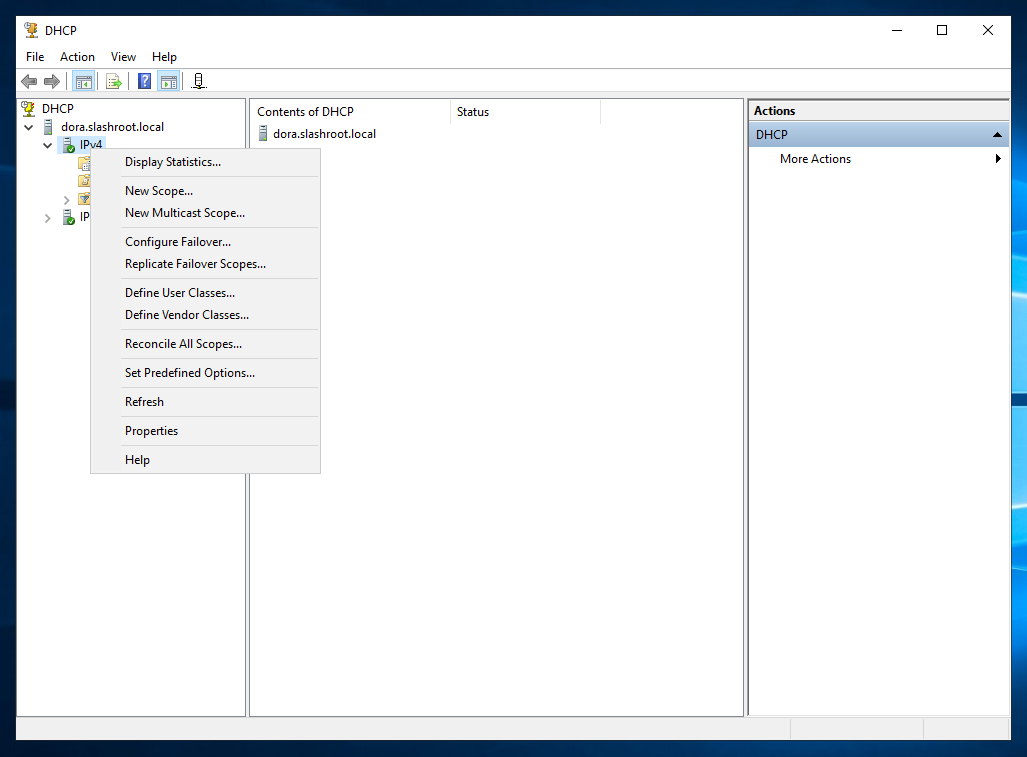
This will allow us to configure the DHCP role of this server. Expand your domain (in my case dora.slashroot.local) and right-click IPv4. Now select 'New Scope'.
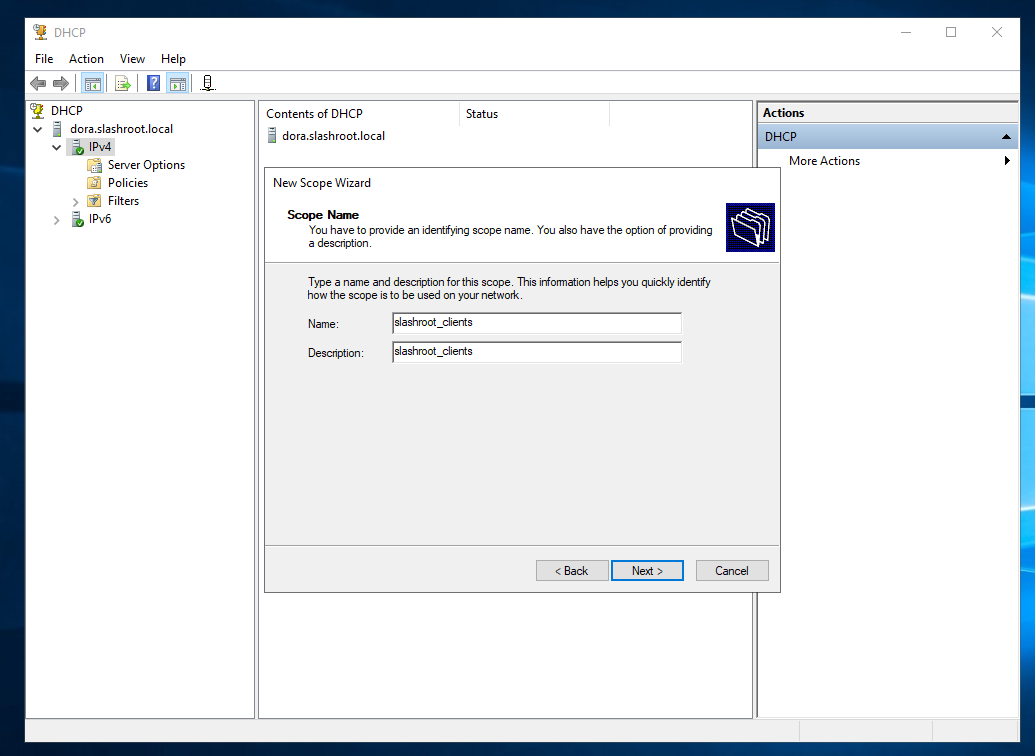
Give the scope a name, for me, this scope will server client machines. I have called this scope 'slashroot_clients'.
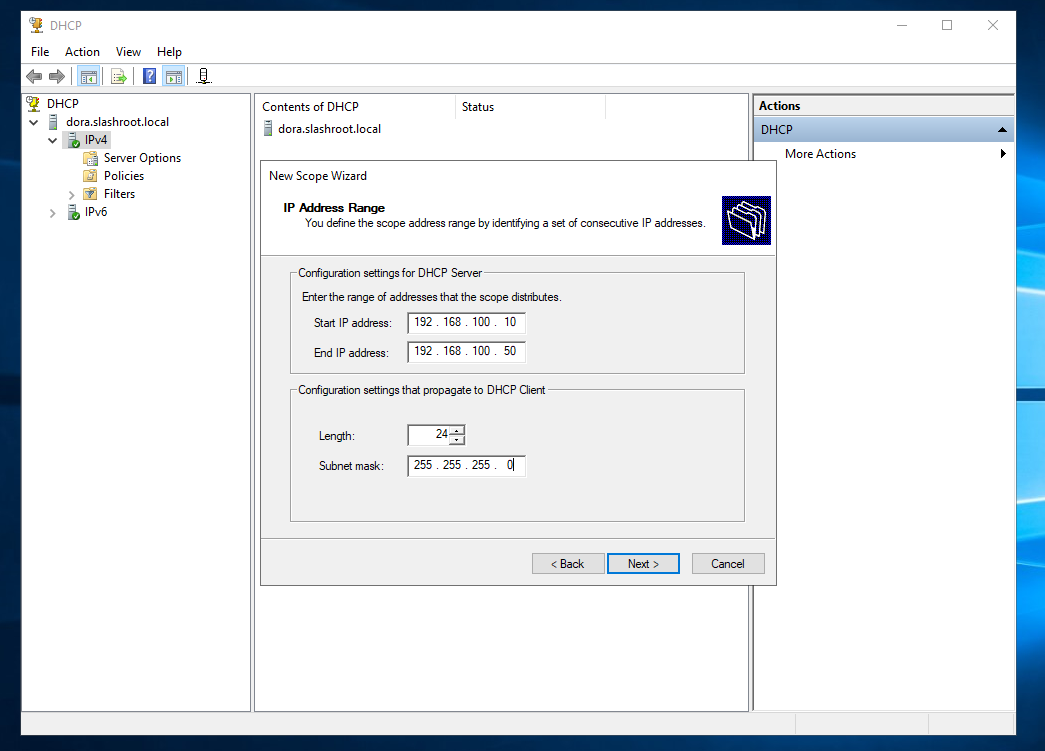
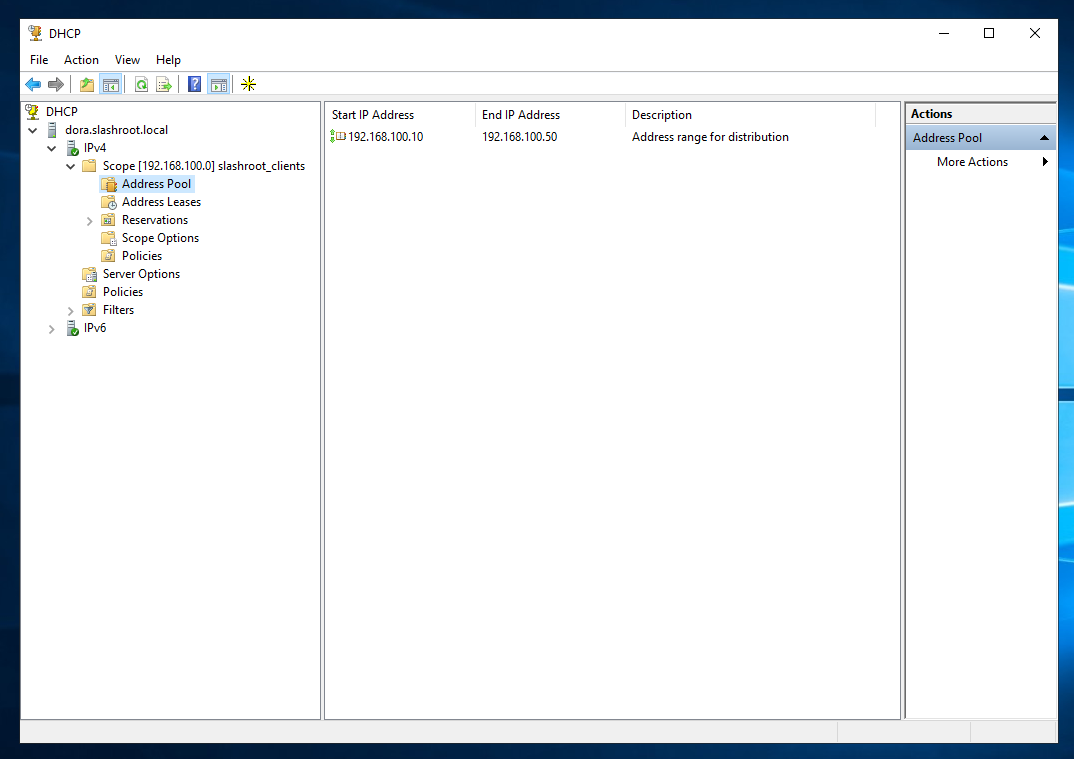
Set a start IP address and end IP address (these are the addresses your DHCP server will give out).
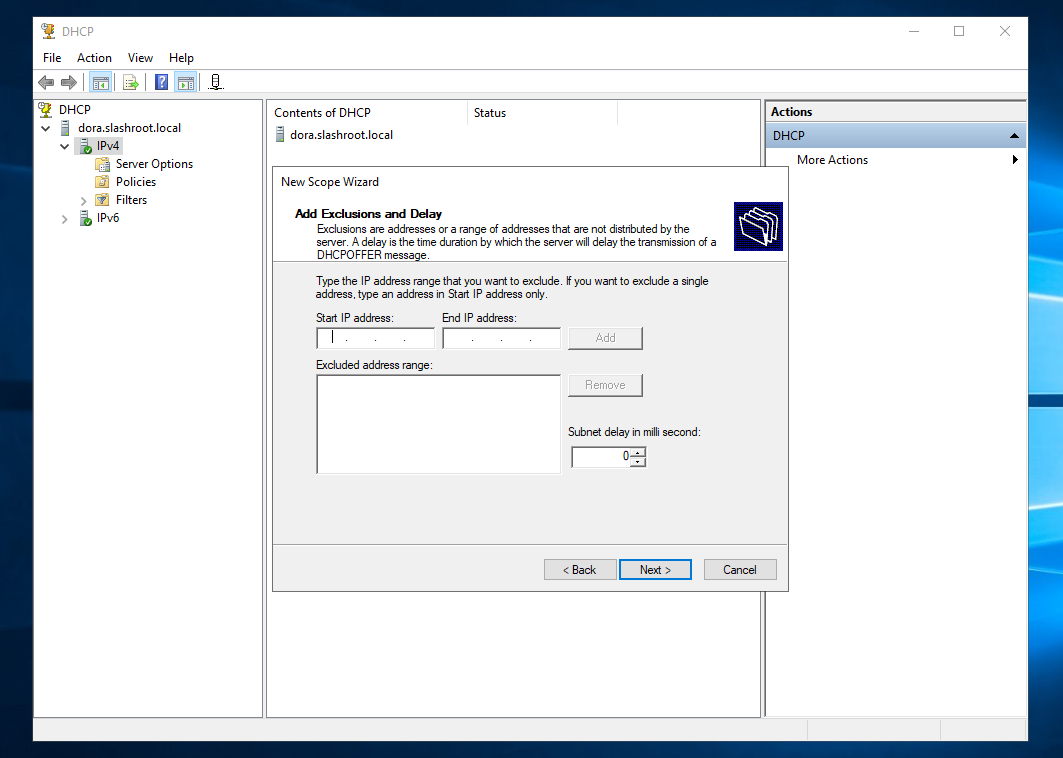
Add any exclusions. These could be other servers, printers etc that you are going to statically assign within your defined scope.
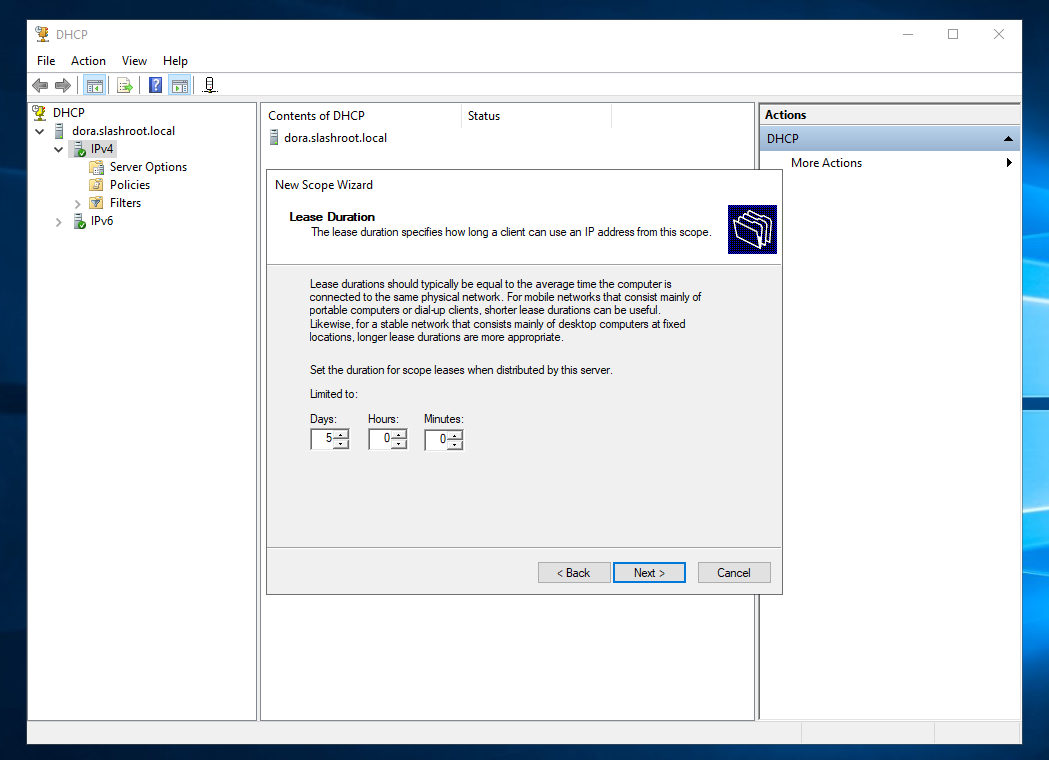
Set a time for IP address lease.
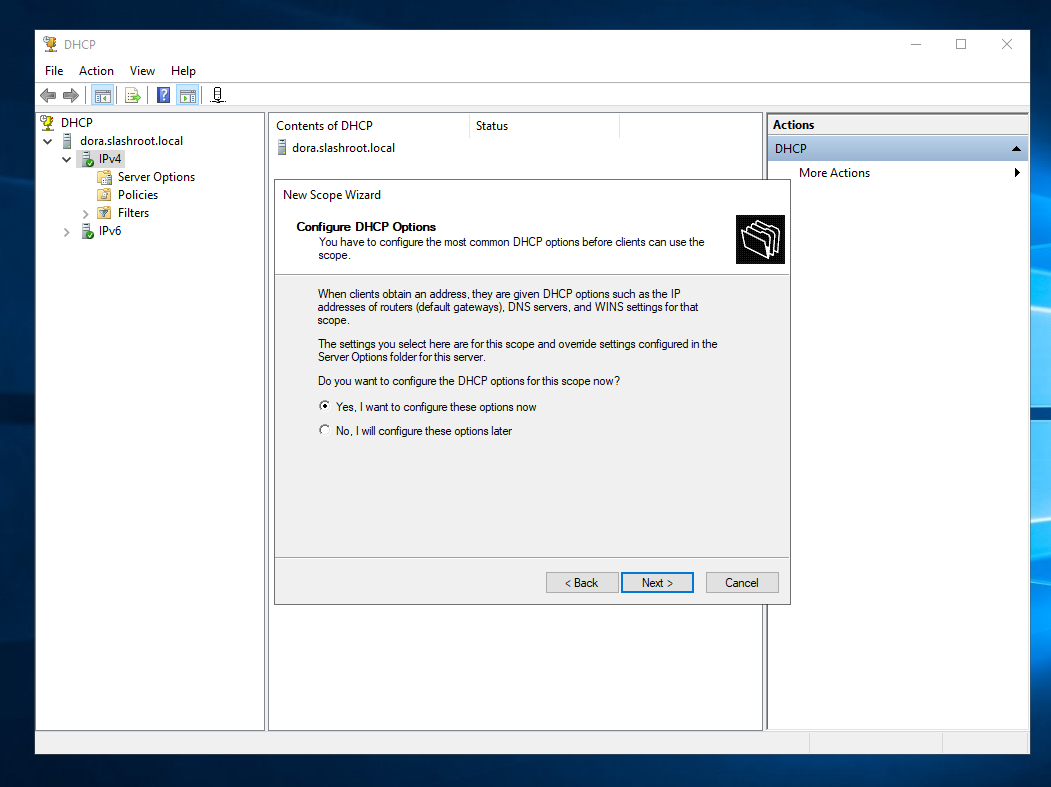
We also want to give our clients network information such as deafault-gateway and DNS. To do this select 'Yes, I want to configure these options now'.
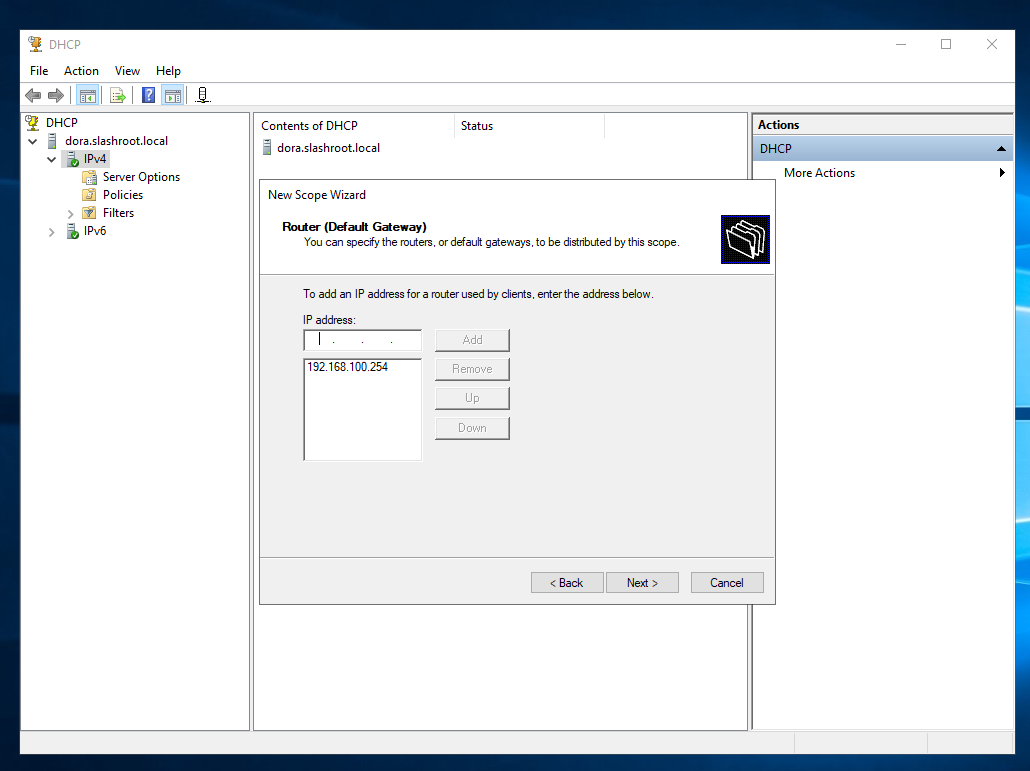
The first option allows us to set a default-gateway. For my domain this will be our DC. Enter the IP address of your default-gateway. Do not forget to press 'Add'.
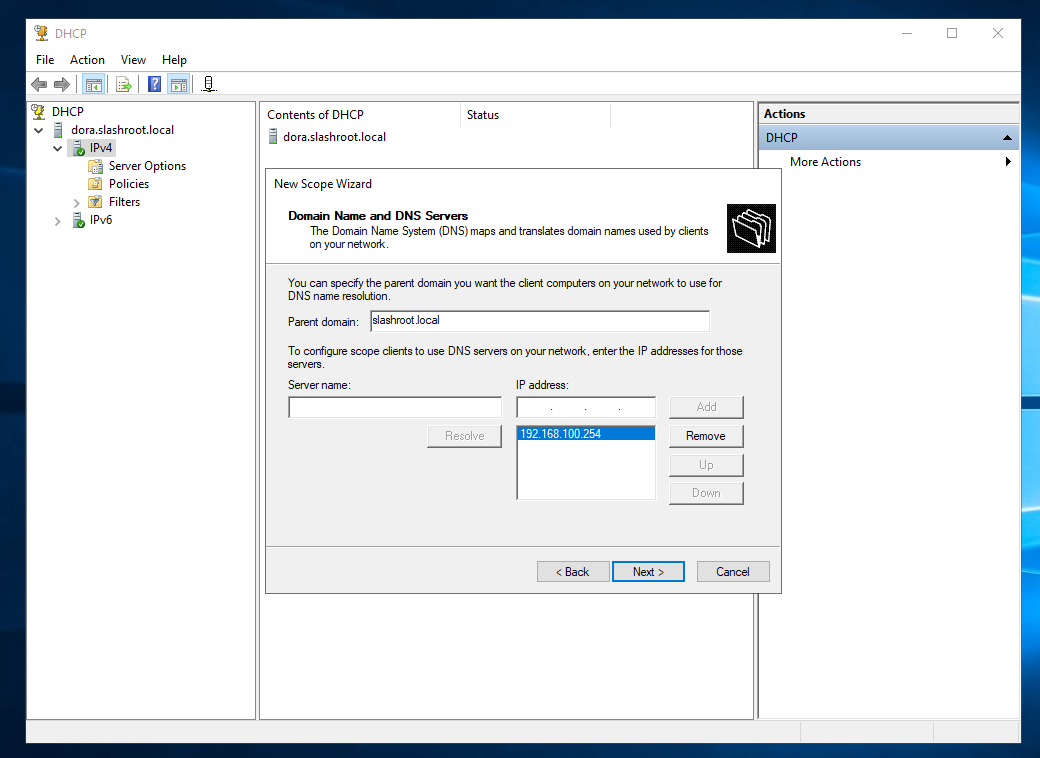
The next screen allows us to dessiminate DNS server information. For my domain this is again my DC - BOSS. Enter its IP address again followed by 'Add'.
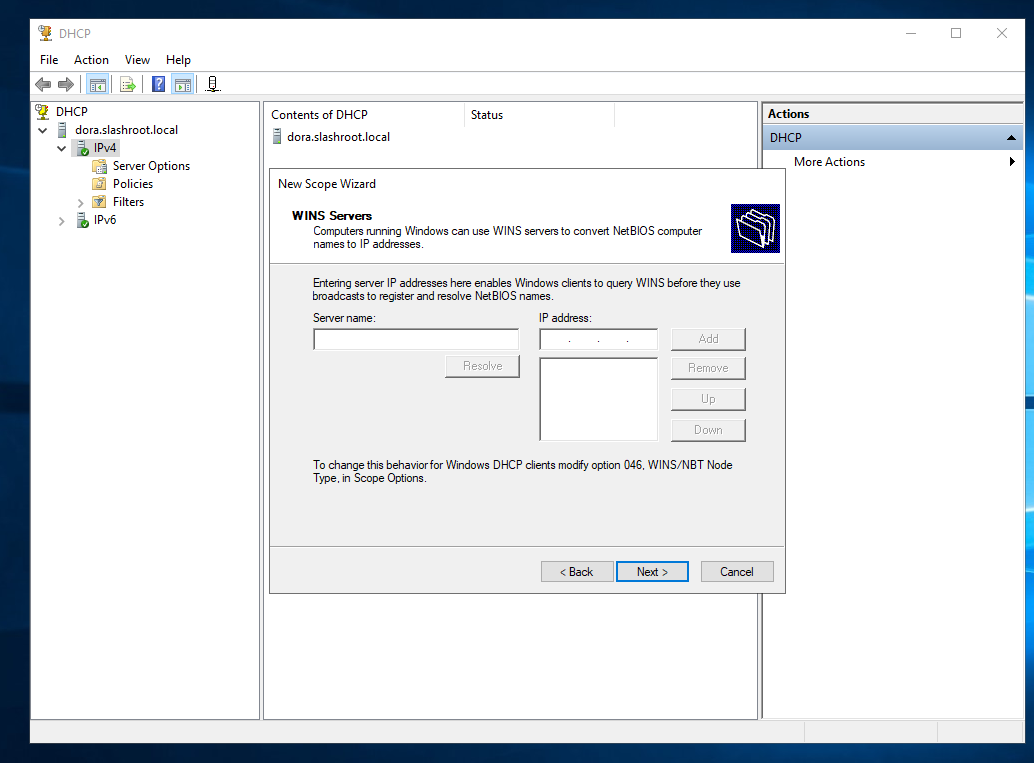
If you want to configure a WINS server, enter this information now. I am not using this service in my domain.
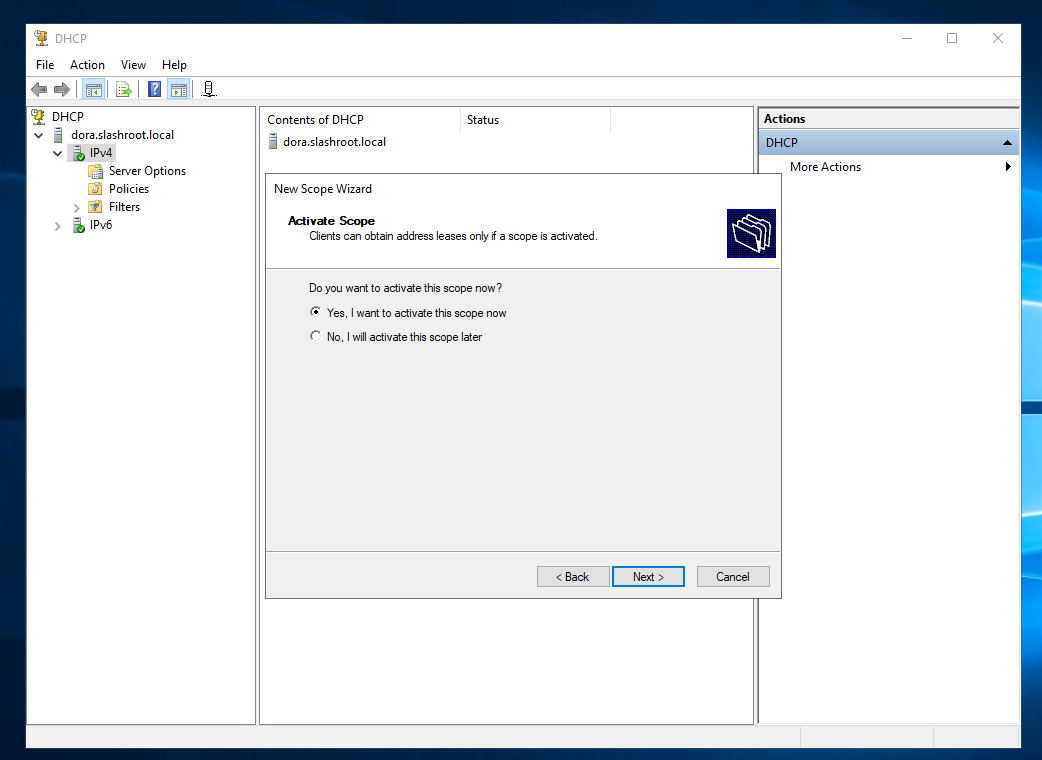
The final option asks if we would like to activate this scope. In our case we do, so select yes.
That's it. The DHCP server is now up and running.
We'll test this when we start adding clients to the domain.
Enquiries
Copyright © 2023 - slash-root.com