Active Directory Lab Build - Installing and configuring Active Directory on the Domain Controller
This is the fourth guide in a series of walkthroughs on how to build a small Active Directory (AD) environment in VMware Workstation Pro. By the end of this guide, you should have configured the network adapters and installed AD on the DC.
Configuring the Network Interfaces on the DC (BOSS)
Login to the DC VM (BOSS). When we configured the hardware on our BOSS VM, we gave it two network interfaces. One internal, the other outward facing. To make it easier to identify which is which, we are going to label the adapters. My two adapters are shown below:
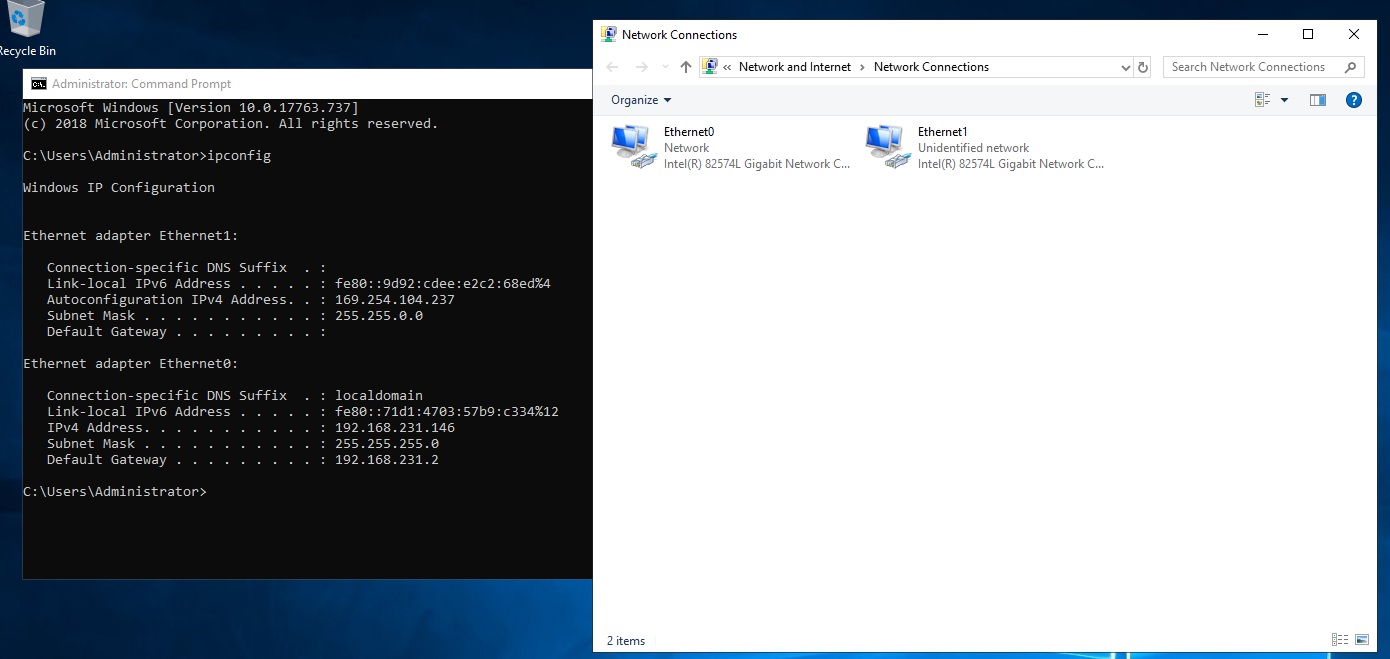
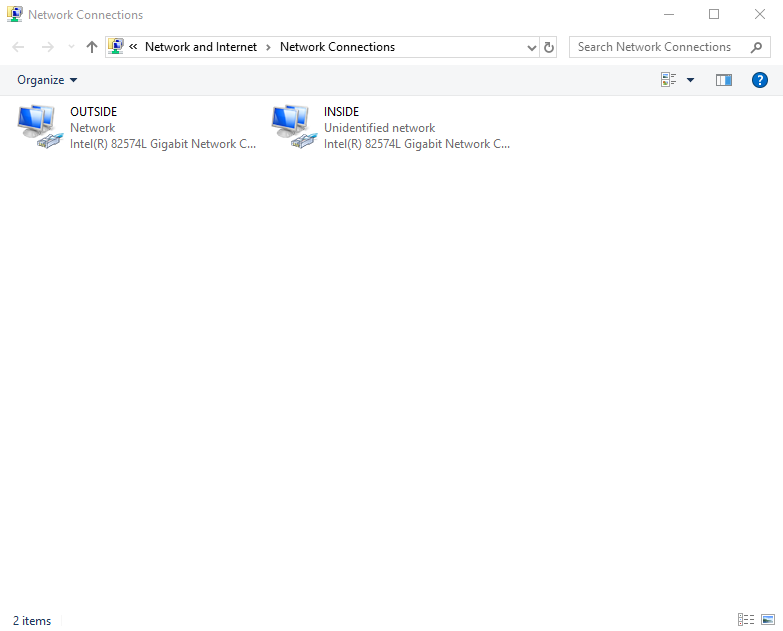
Notice how one adapter has a link-local address (169.254.104.237 - Ethernet1) and the other a private IP (192.168.231.146 - Ethernet0). This tells us that Ethernet0 is the external adapter (NAT) as it has received a DHCP leased address. The link-local address on Ethernet1 is to be expected as we currently do not have a DHCP service running internally; so it has been given 169.254.102.237 by Windows networking. All I am now going to do is rename these adapters:
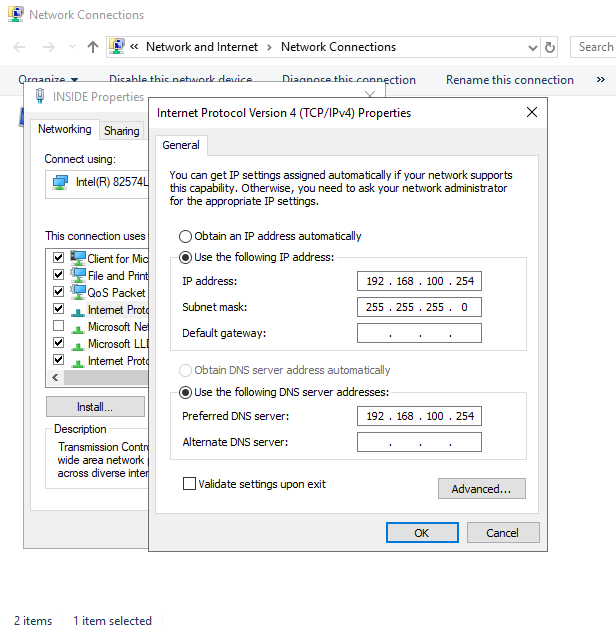
Next, we need to assign the DC its IP address as per the topology. We change the INSIDE adapter to 192.168.100.254 and set its DNS to the same address. We could have used 127.0.0.1; both are valid.
Installing Active Directory Services
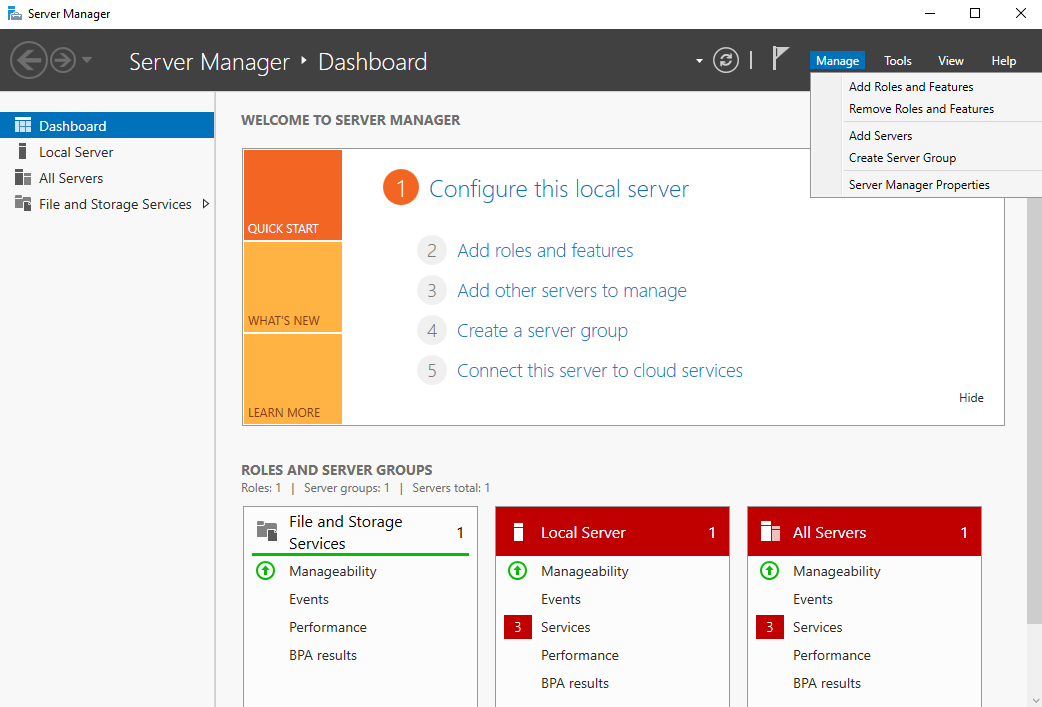
We are now going to install Active Directory. To do this, access Server Manager and select Manage > Add Roles and Features, which is located in the top right of the Server Manager window:
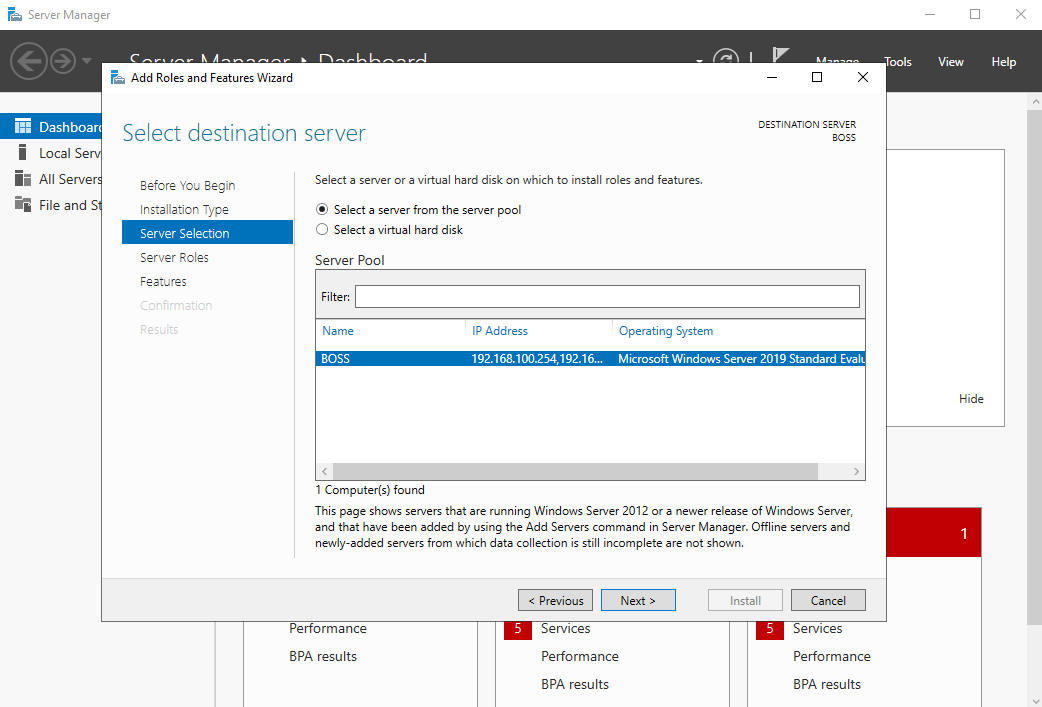
Click next on the first window (you should recognize the IP addresses set, as these are our two adapter addresses):
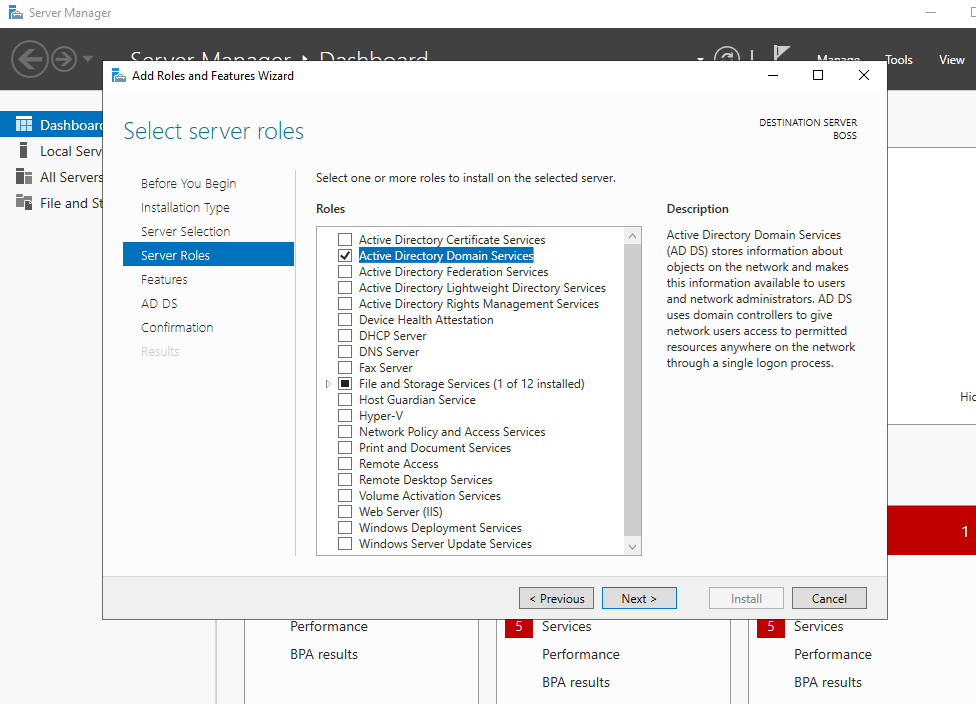
On the next window, select Active Directory Domain Services and then Add Features.

This should now be ticked as per the screenshot below:
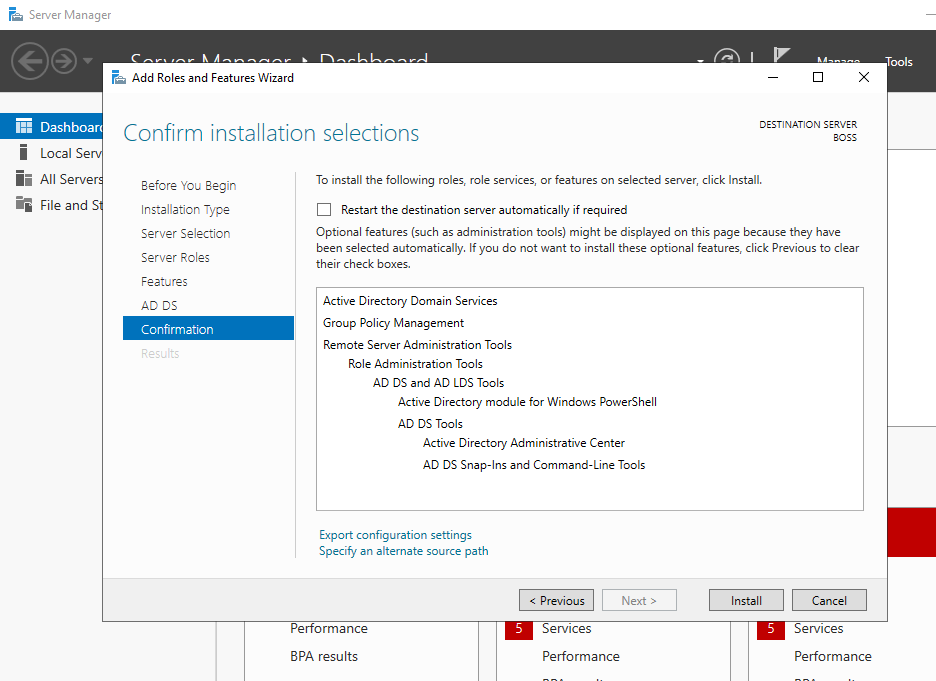
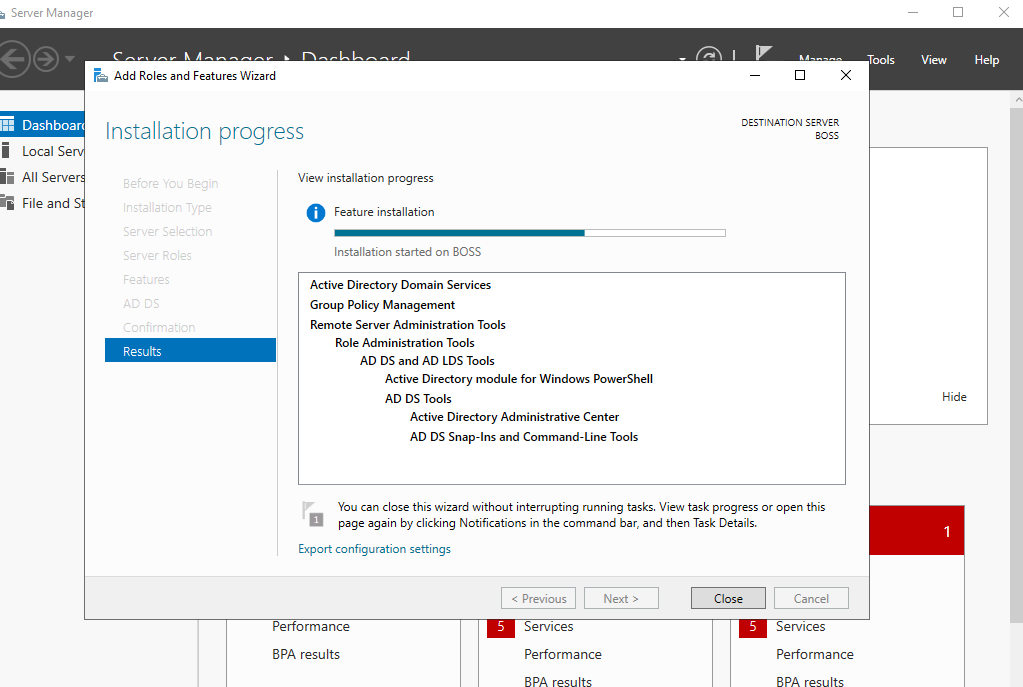
Click Next and then Install. This will take a few minutes as per the below screenshots:
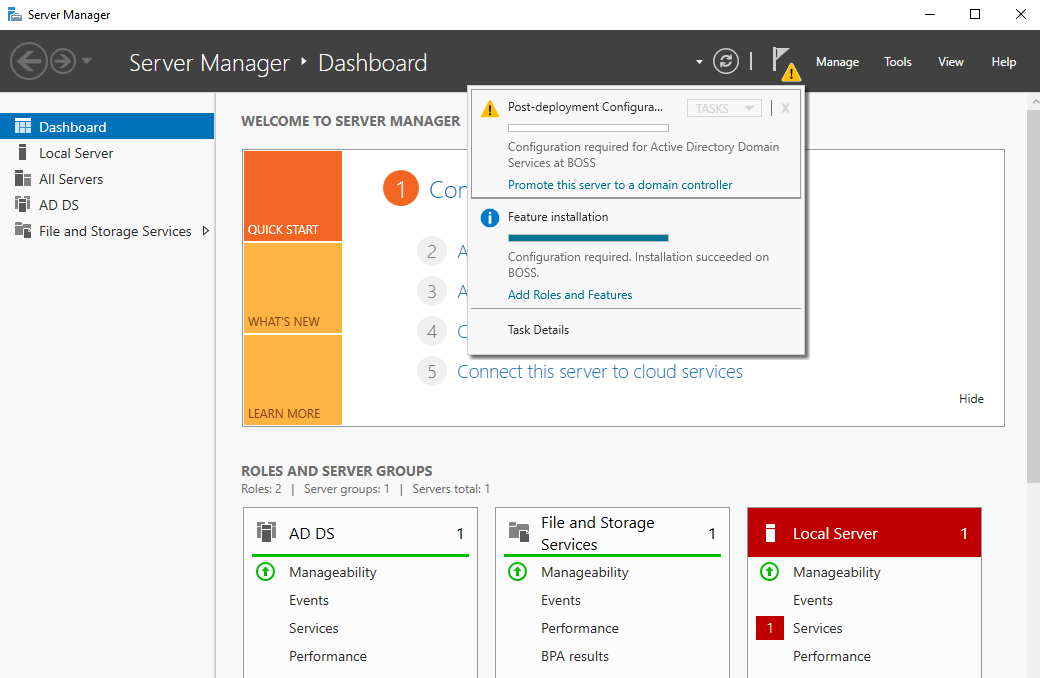
Once this has completed, you will be taken back to the server manager main window. You will notice a yellow warning symbol. Select this and click Promote this server to a domain controller. This selection is promoting this server to a fully-fledged DC. We'll select the role of the DC within our topology in the next option.
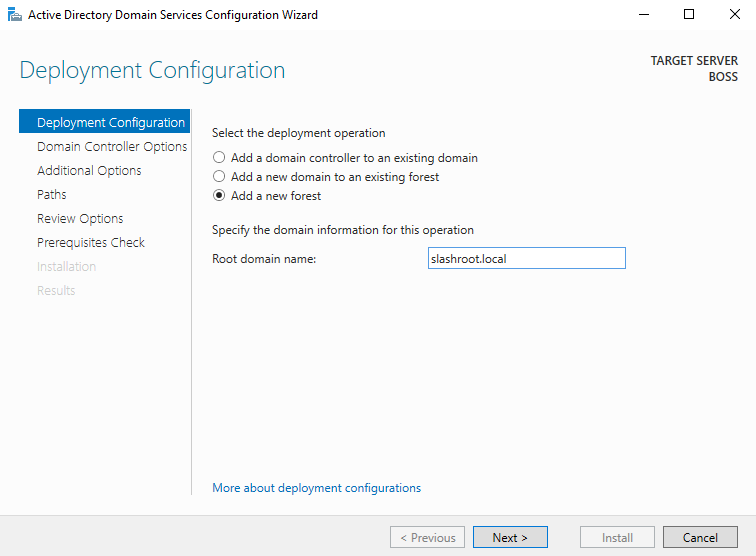
We are now asked how we want to deploy this domain controller. We ultimately want to create a new structure i.e. a new forest in DC 'speak'. As we can see with the other options, we could have also added this server to an existing domain. Select Add a new forest and give your domain a name. I've chosen to call my domain slashroot.local.
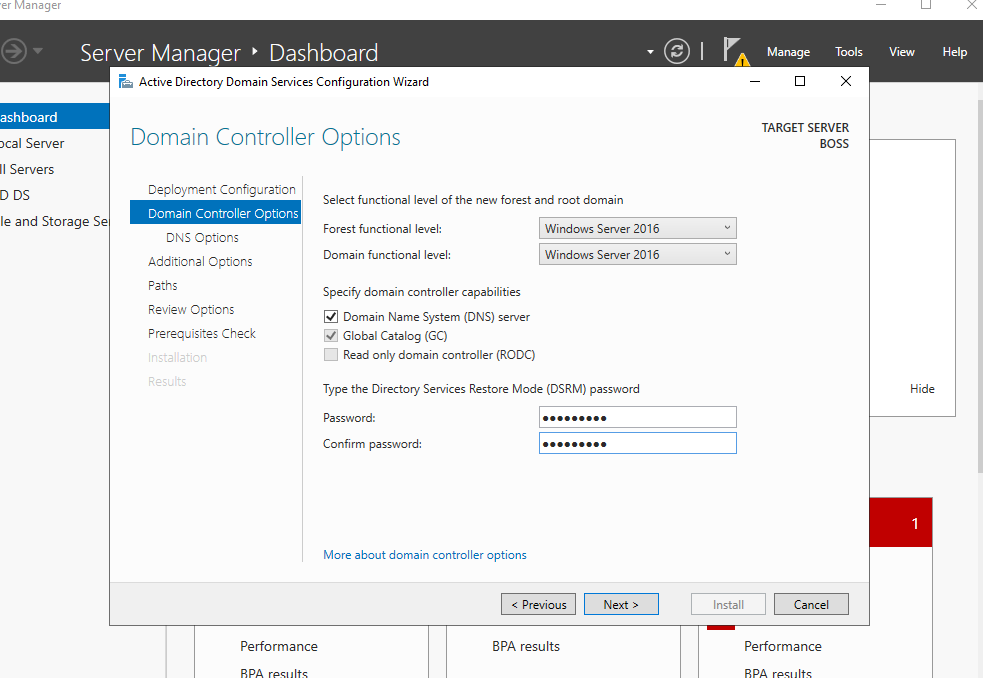
Click Next and enter a password for restoration purposes. Ensure the two boxes are ticked and that the functional level is Windows Server 2016. Microsoft has not added any further functional domain levels since Windows Server 2016, therefore, this is the latest setting.
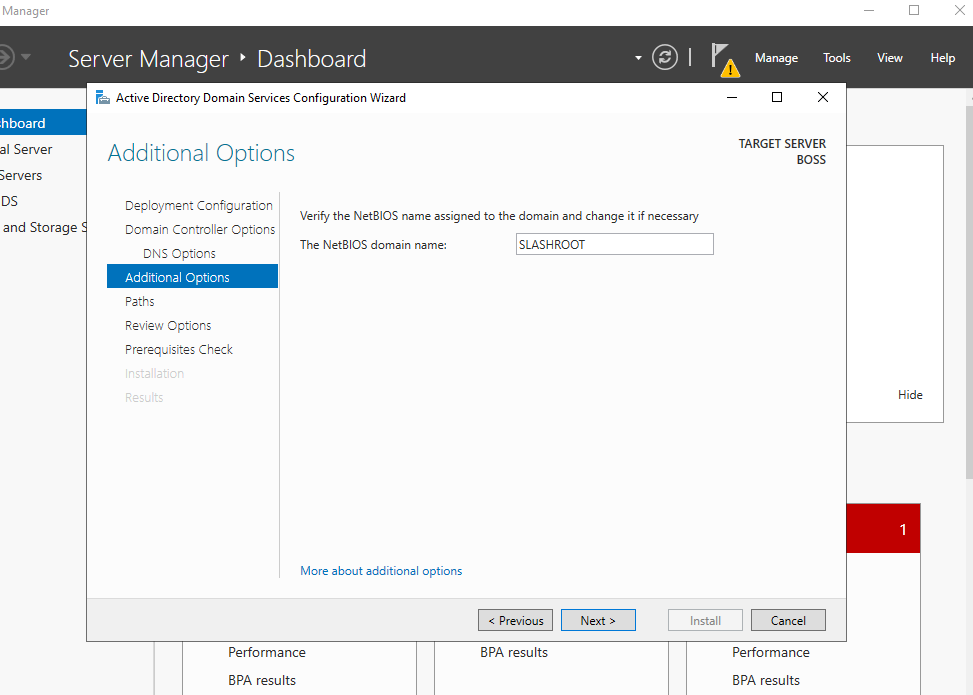
Click Next and enter a NetBIOS name, I have used SLASHROOT. Think of this name as a DNS reference, but with less functionality.
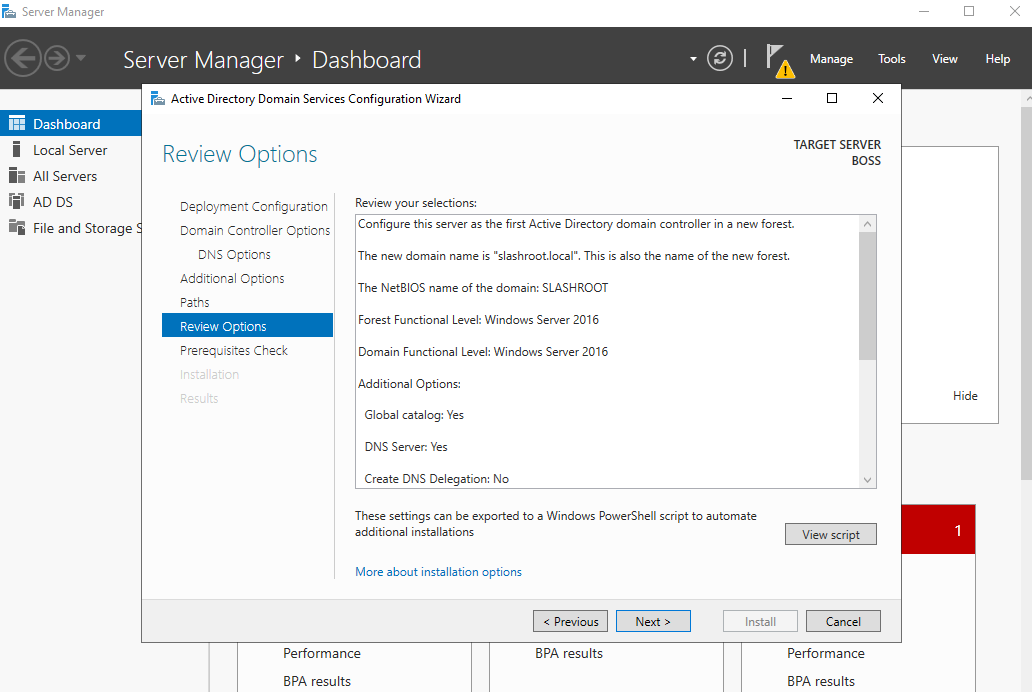
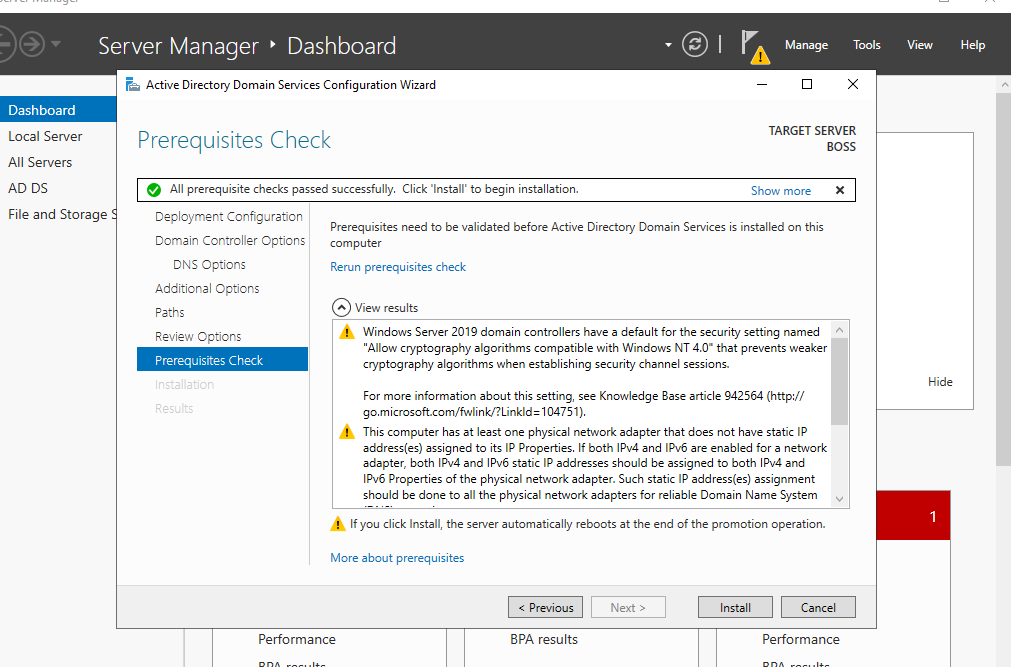
Click Next accepting the defaults in the following few options; finally selecting Install. These are shown in the below screenshots:
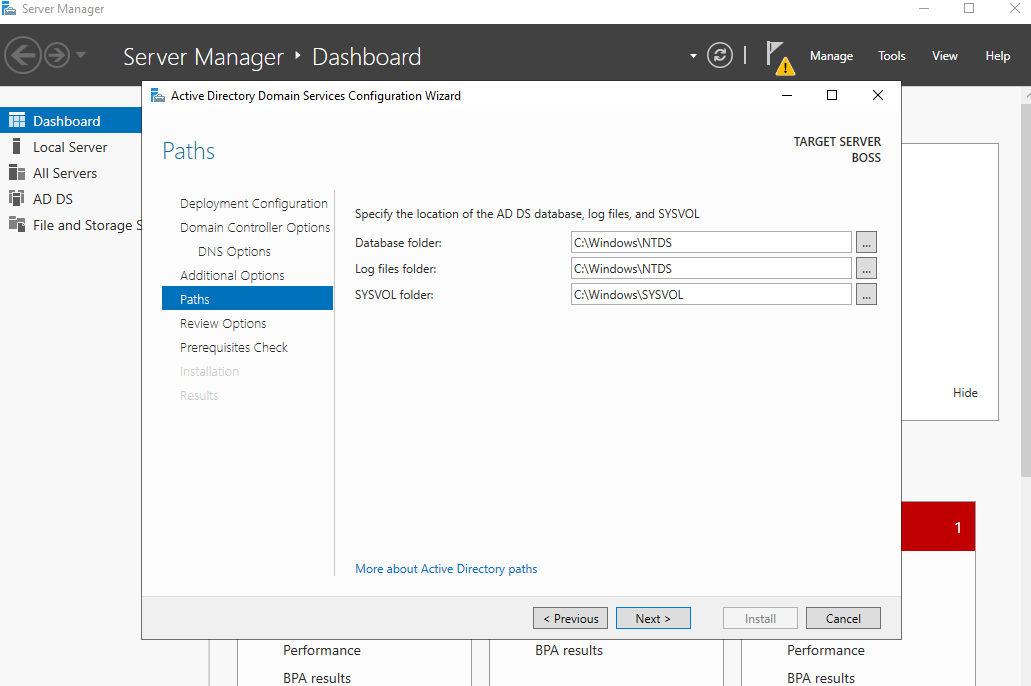
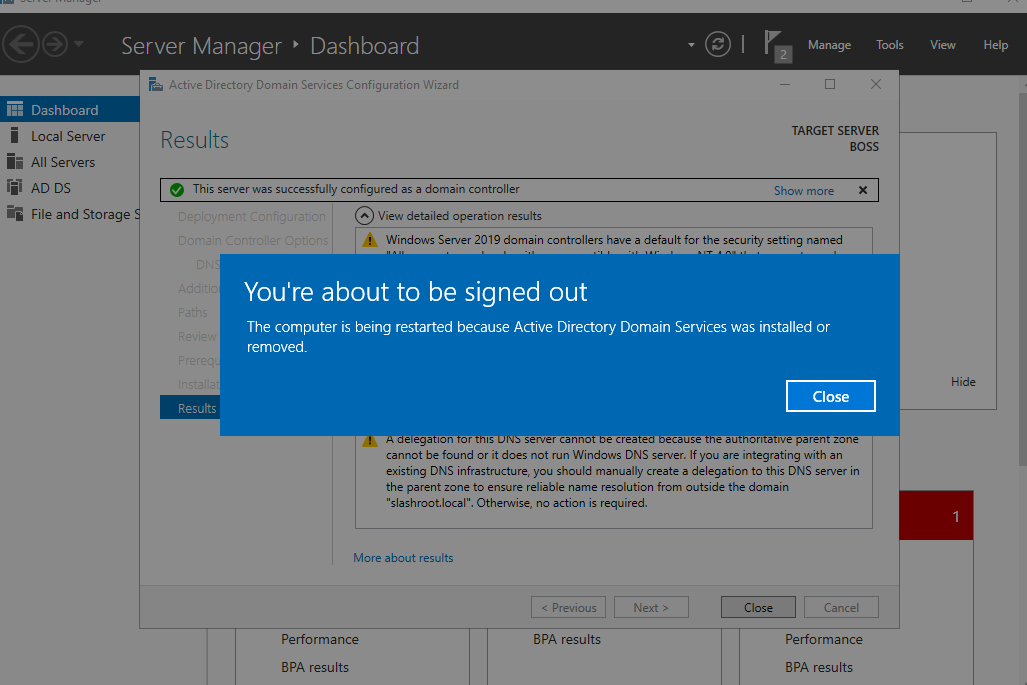
A point to note at this stage, the NTDS is one of the key files on a DC. It holds information on our domain configuration and user password information. The installation may take a few moments, and when completed, the install will sign you out and restart the machine.
Once the system has rebooted you will notice a new login screen. This is a good sign and shows our domain is up and running!
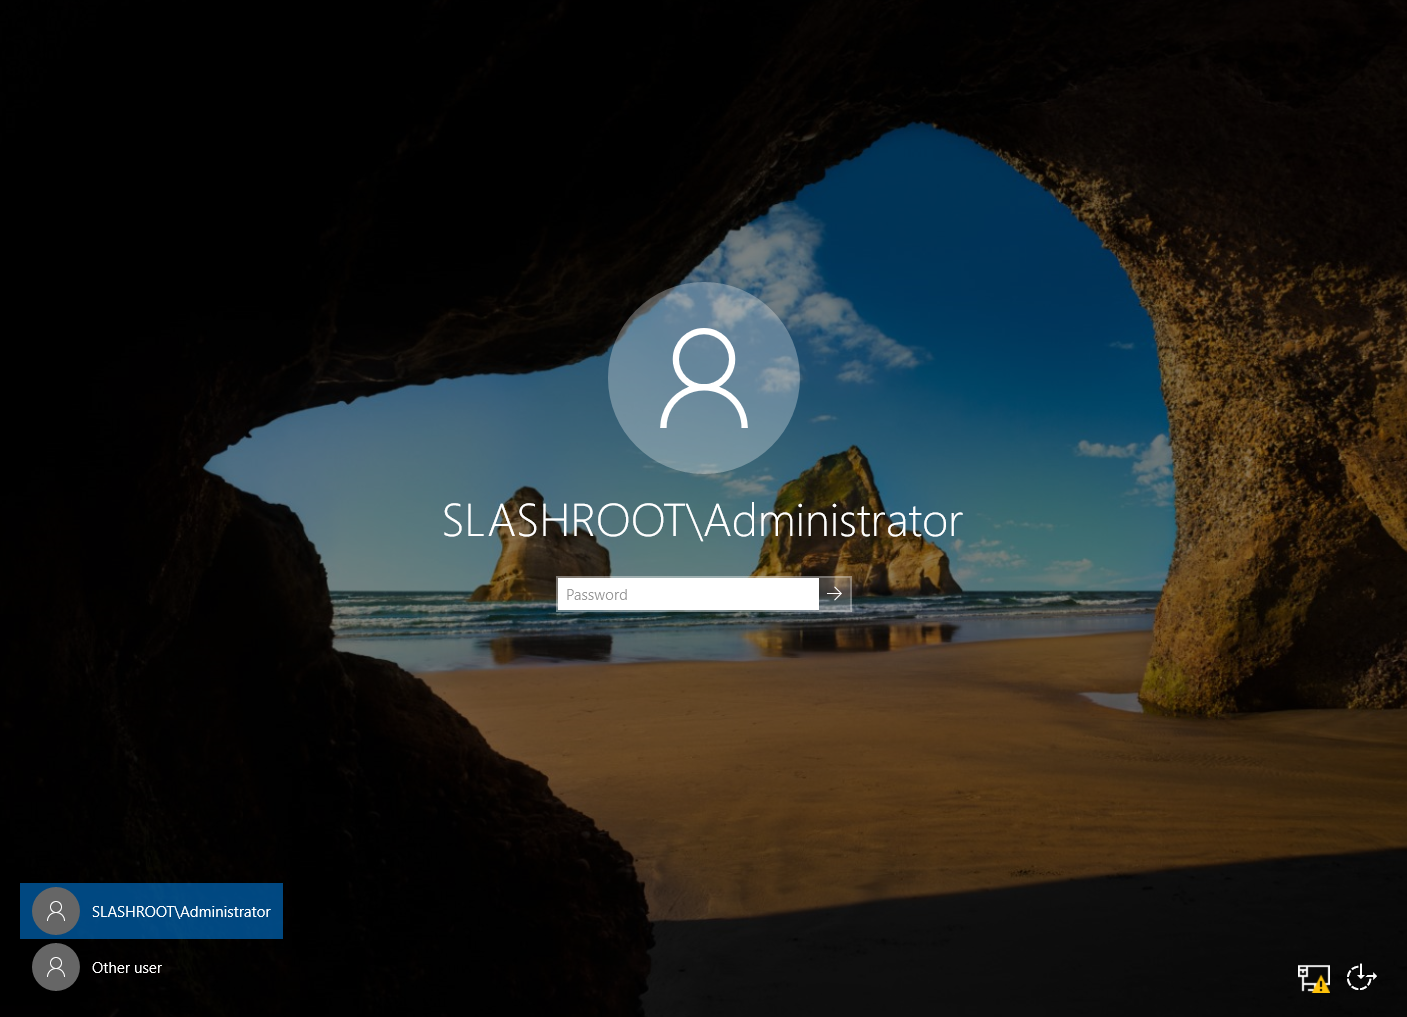
Login with your administrator credentials and access Server Manager again. You should notice something similar:
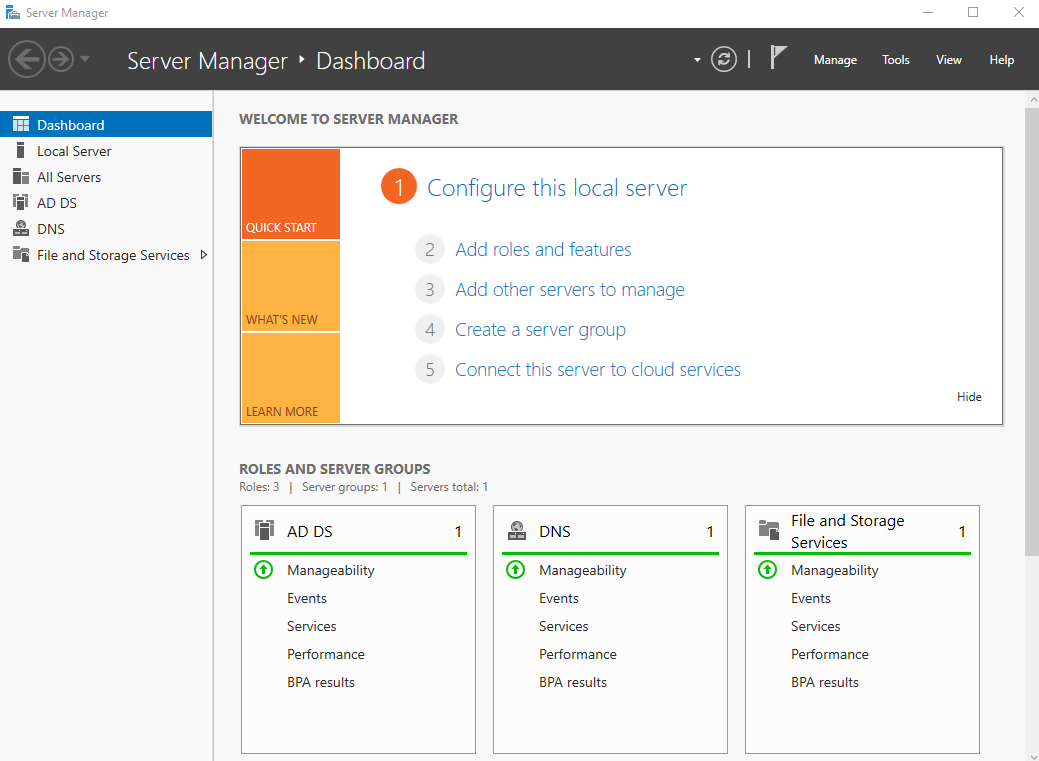
This is now telling us that the server is running AD Directory Services, DNS, and a file storage service. To check your DC domain name, open System. You will see your full DC domain name, in my case, this is BOSS.slashroot.local.
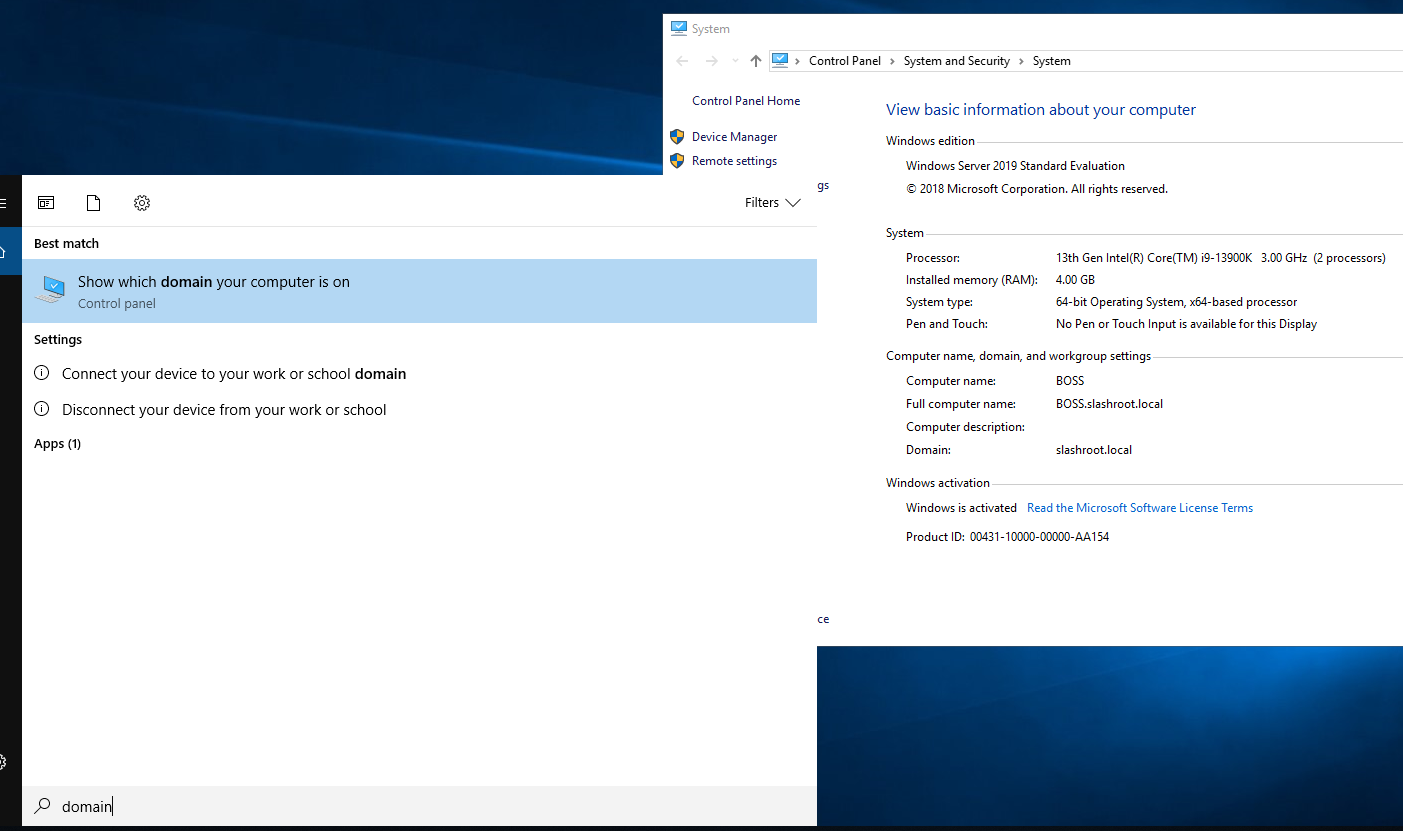
This concludes this step in our domain configuration. Next, we will start to populate the domain with resources and most importantly user accounts.
Enquiries
Copyright © 2023 - slash-root.com