Active Directory Lab Build - Installing and initial configuration of the Domain Controller
This is the third guide in a series of walkthroughs on how to build a small Active Directory (AD) environment in VMware Workstation Pro. By the end of this guide you should have installed the Domain Controller (DC), fileserver and DHCP server. We will also enter some basic configuration information into each of the servers as a baseline before we install their specific services.
Installing Windows Server 2019 (Domain Controller - BOSS)
To begin the installation of Windows Server onto our DC, start the VM named BOSS. Ensure you are ready to 'press any key' to boot from the ISO added to the CD drive when we built the VM:

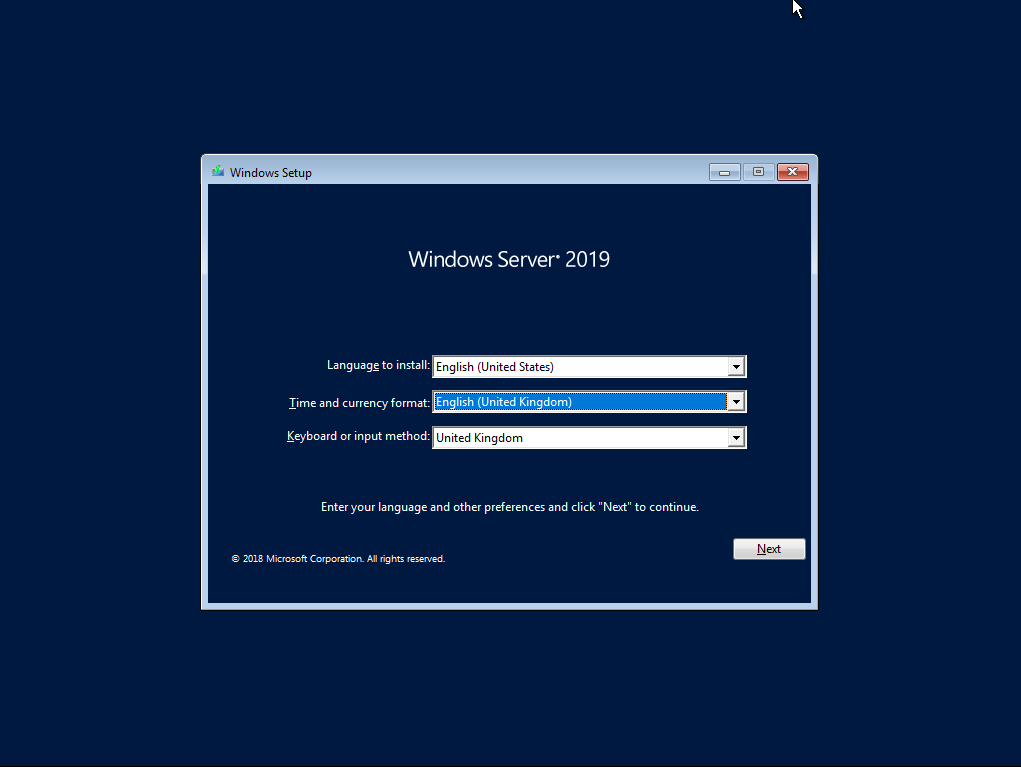
If you miss it, don't worry, just reboot the VM and do it again. You will now be faced with the first installation screen. Select your language and keyboard settings:
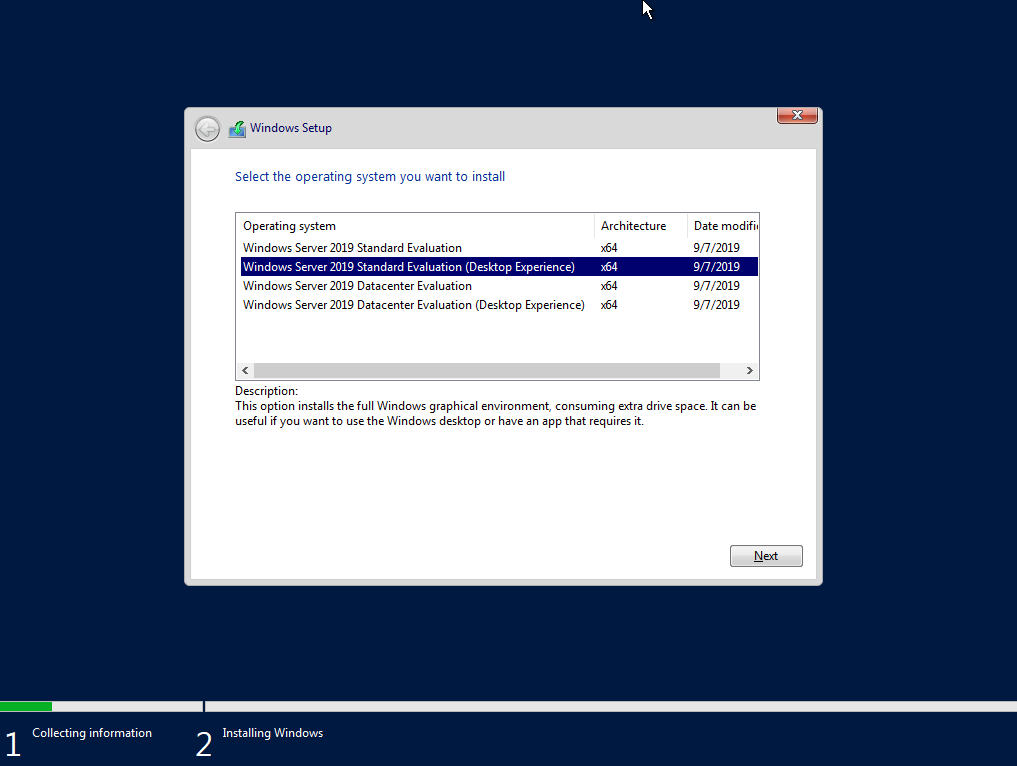
On the next screen, be sure to select 'Standard Evaluation (Desktop Experience)':
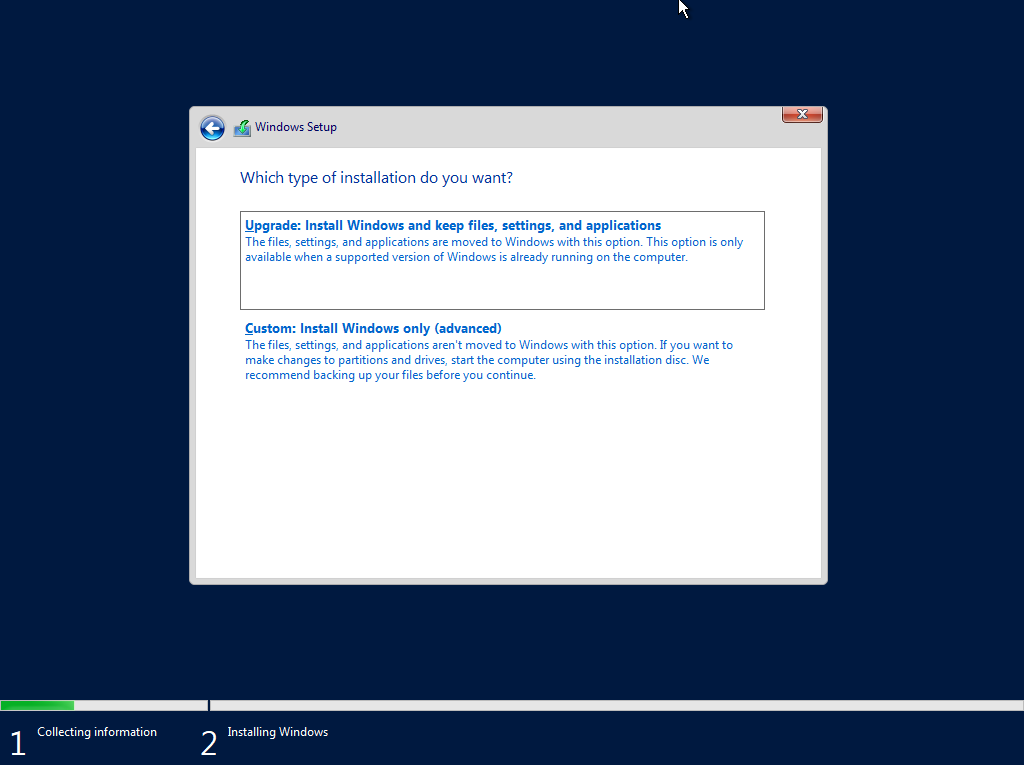
Select 'Custom' to do a full install:
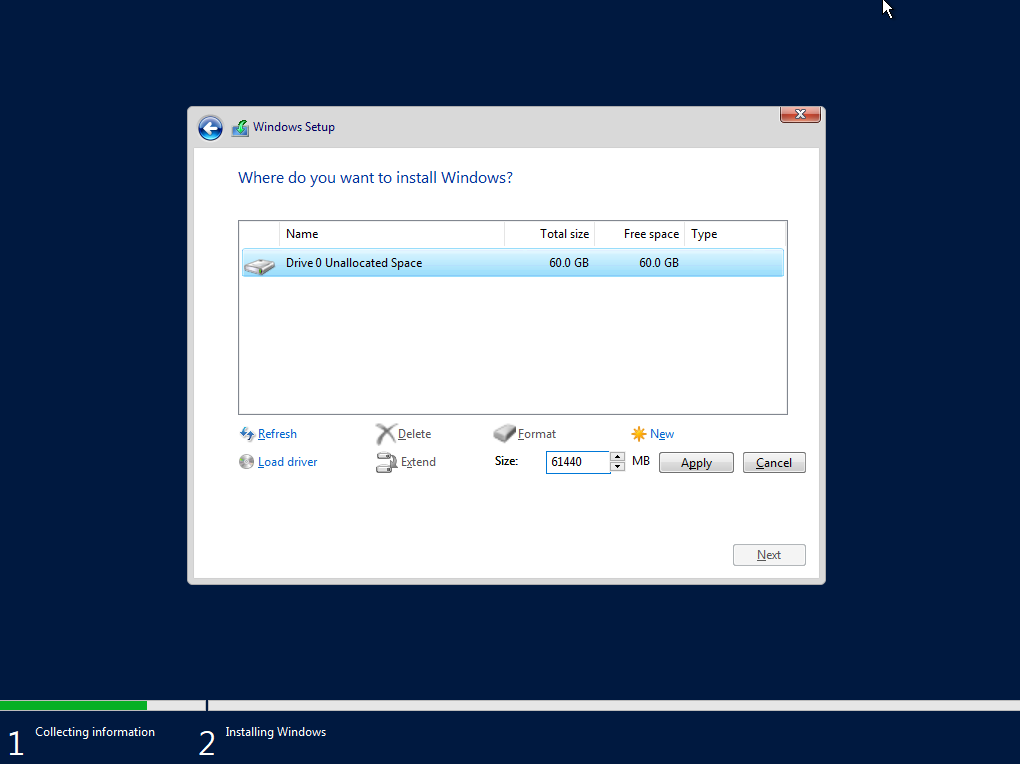
Choose the drive you wish to install Windows Server onto. There should only be one drive at the size you set when you built the VM. Select this drive:
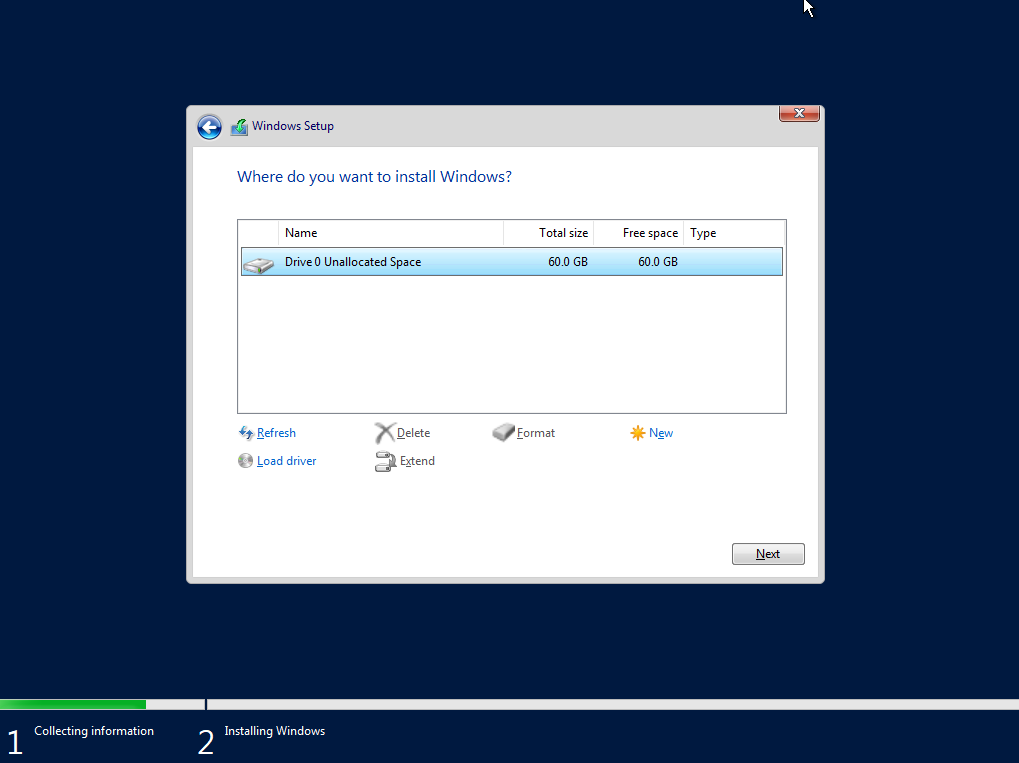
Once selected, select 'New':
This has now partitioned the disk, select the largest partition to install to (primary):
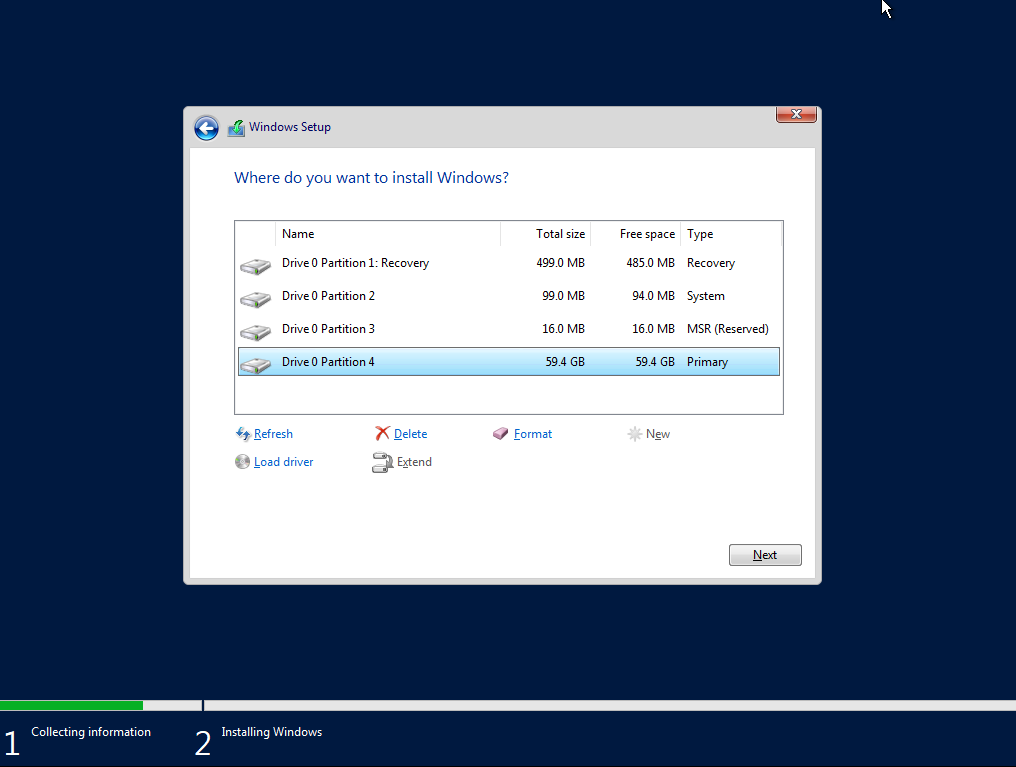
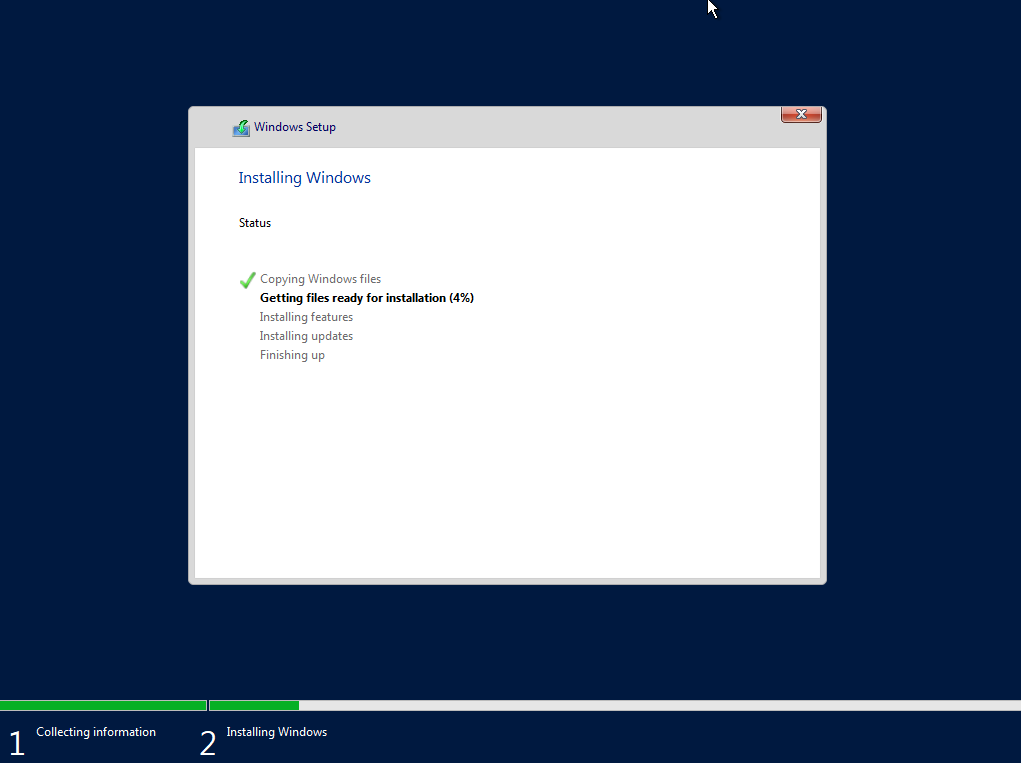
Click next and let the install complete:
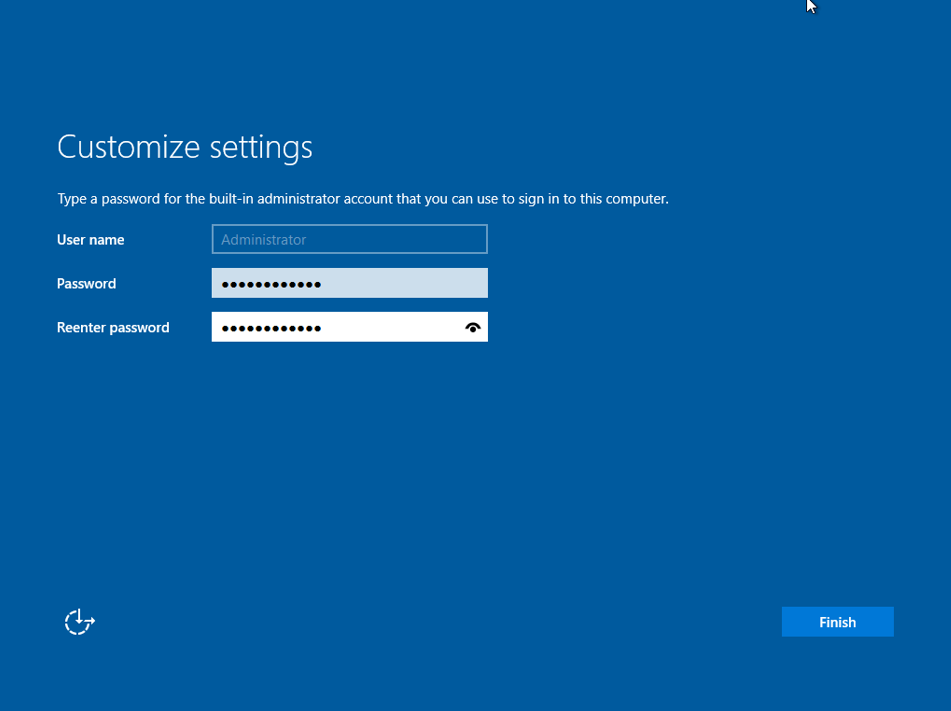
After installation, enter an administrator password. I have used 'Password123!'. Extremely unsecure, I know, however, I just want something simple and easy. Remember we won't be deploying this anywhere near a production environment, this lab will be for education purposes only.
Let the final stages complete and boot into Windows Server 2019.
At this stage we are now ready to start configuring this VM as the DC. Before you move on, complete the above steps for the other two servers - DORA and FILO. Starting the VMs and installing Windows Server 2019 in the same fashion.
Initial configuration of the DC
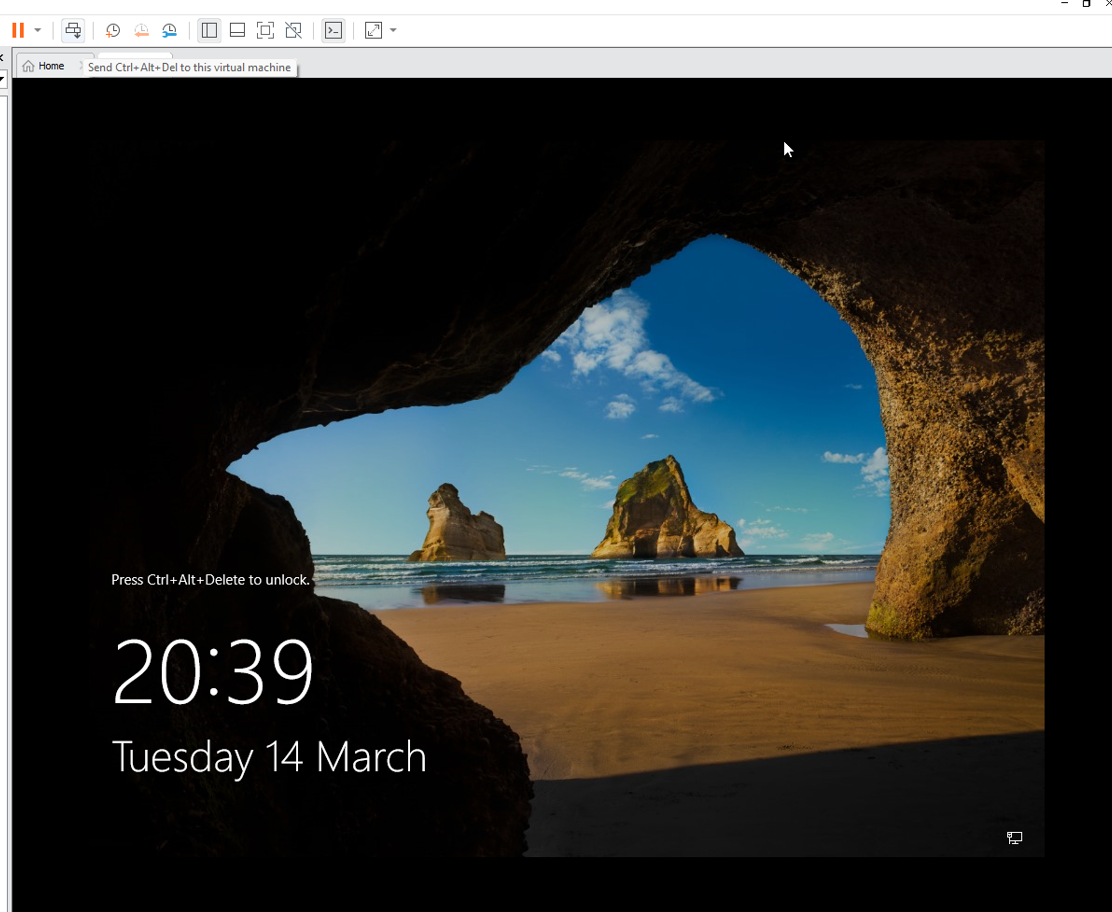
The first thing we are going to do on the BOSS VM, is install the VMware tools. This will just improve our overall experience by allowing us to use a dynamic resolution within the VMware window. Login to BOSS using the administrator account (to send the alt+ctrl+delete command click the button with the 3 boxes in VMware, you can see this in the top left on the above screenshot). In VMware, select 'VM' and then 'Install VM Tools...'. This will insert the VMware tools CD into the disk drive of the VM.

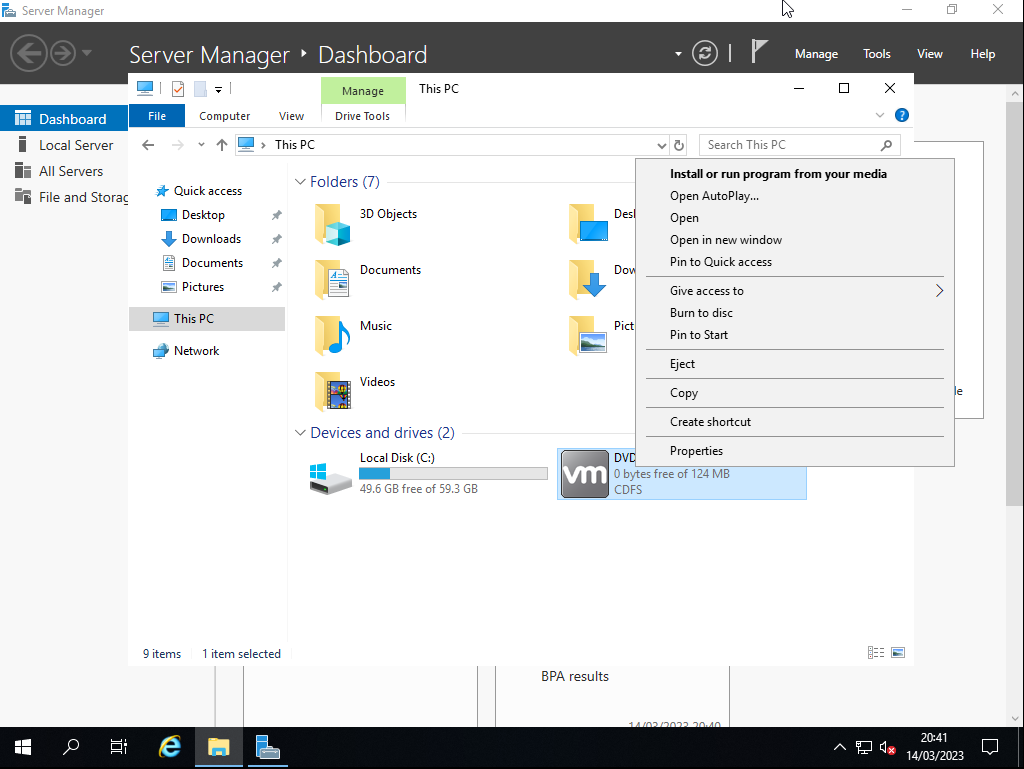
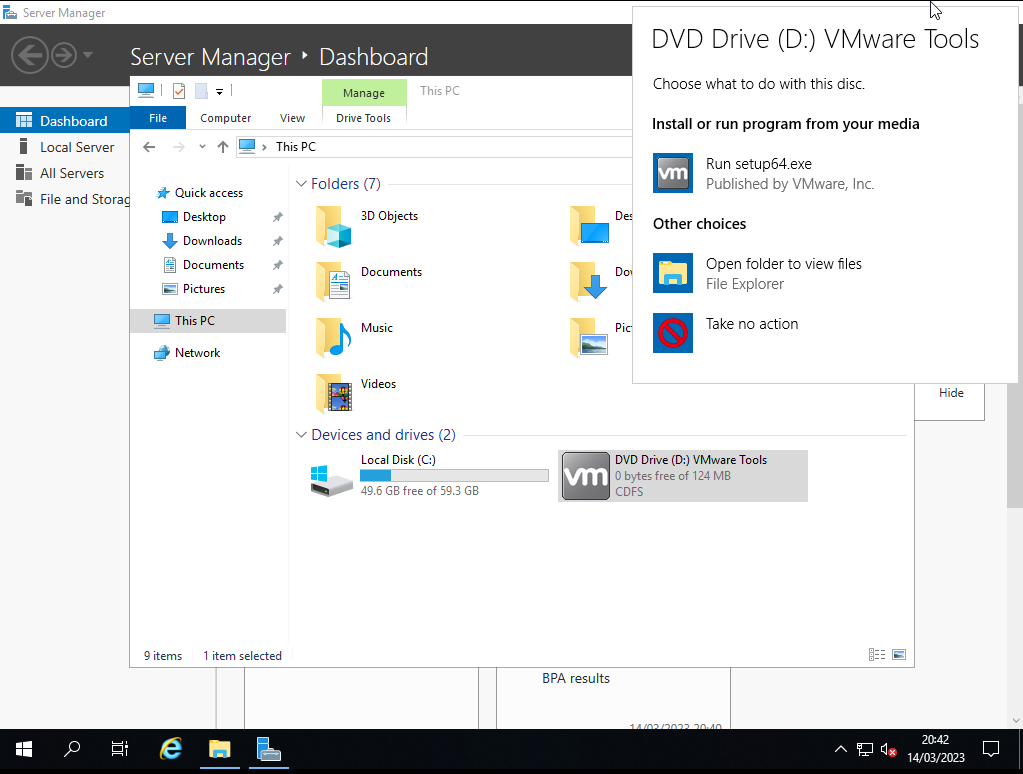
Once done, open 'My Computer' and run the CD:
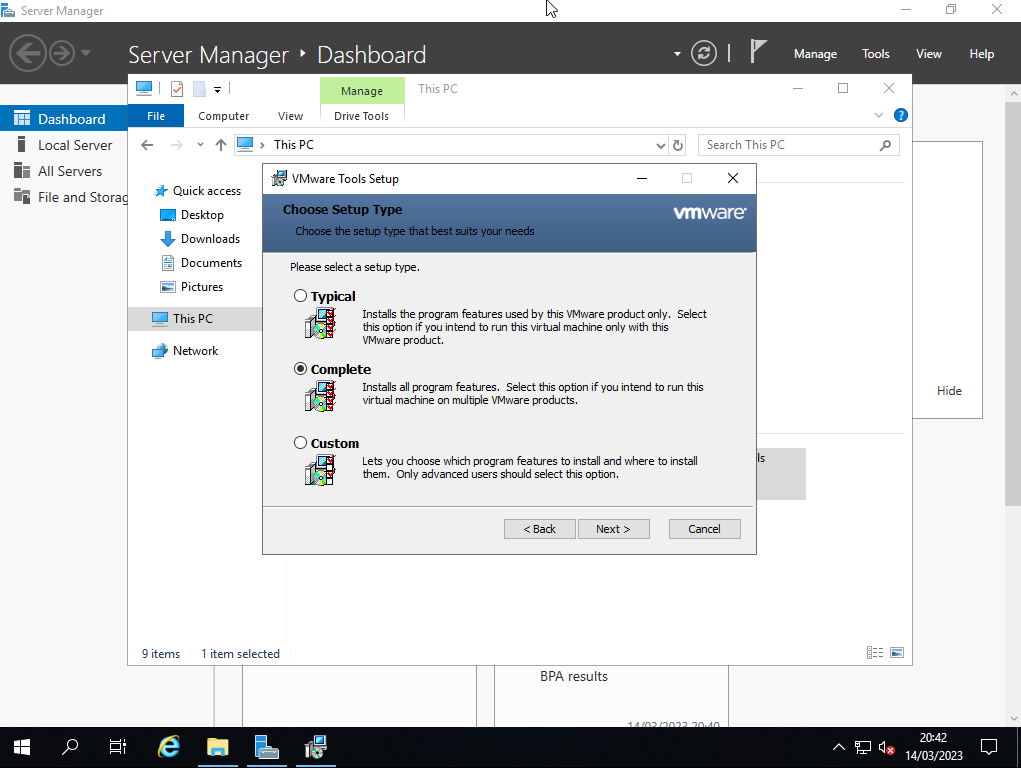
Now run the setup and install using the 'Complete' option:
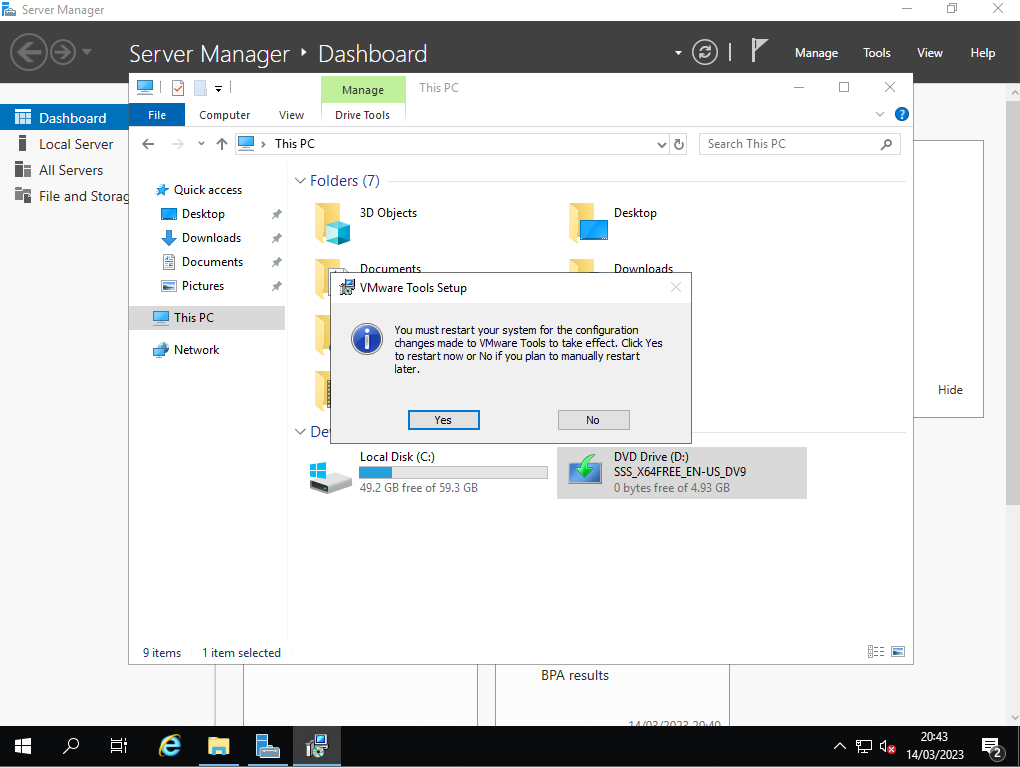
When prompted to restart, select 'No'.
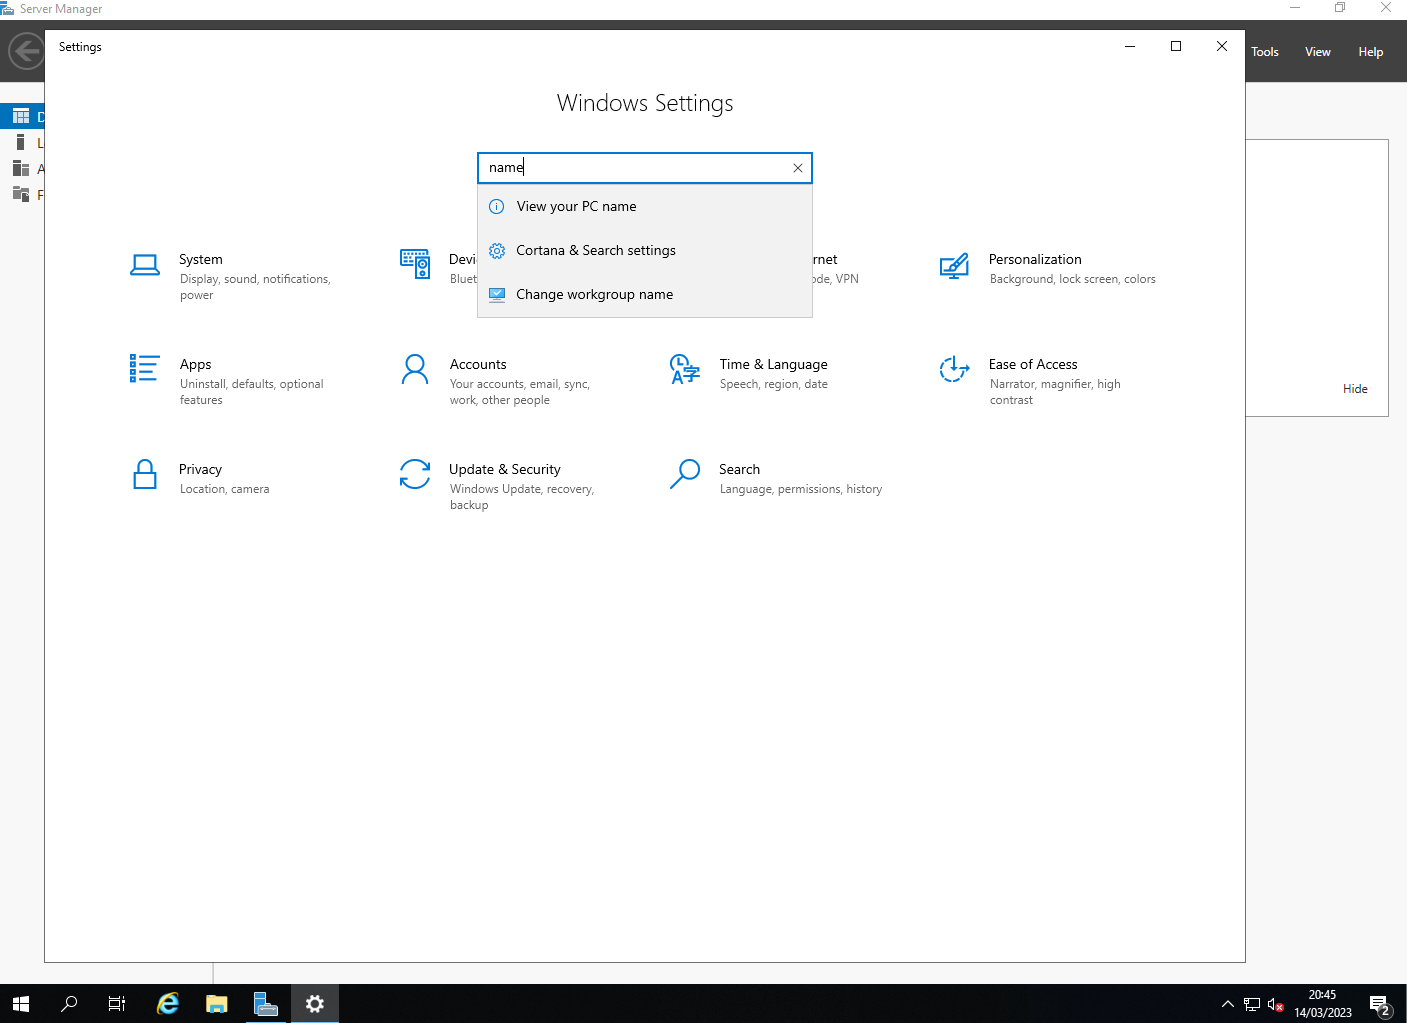
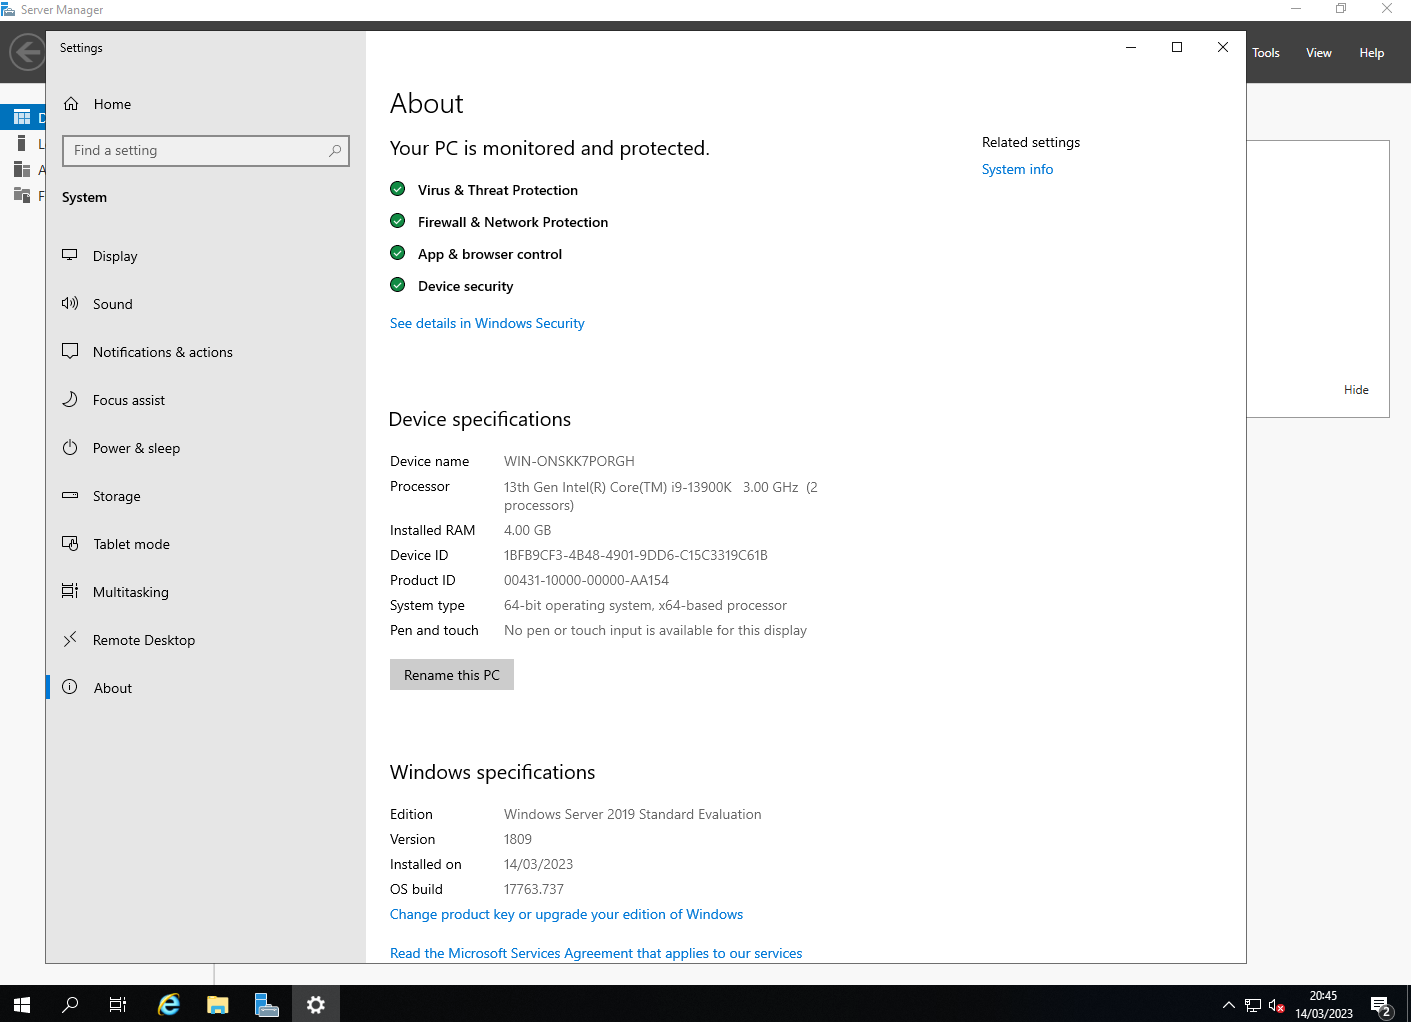
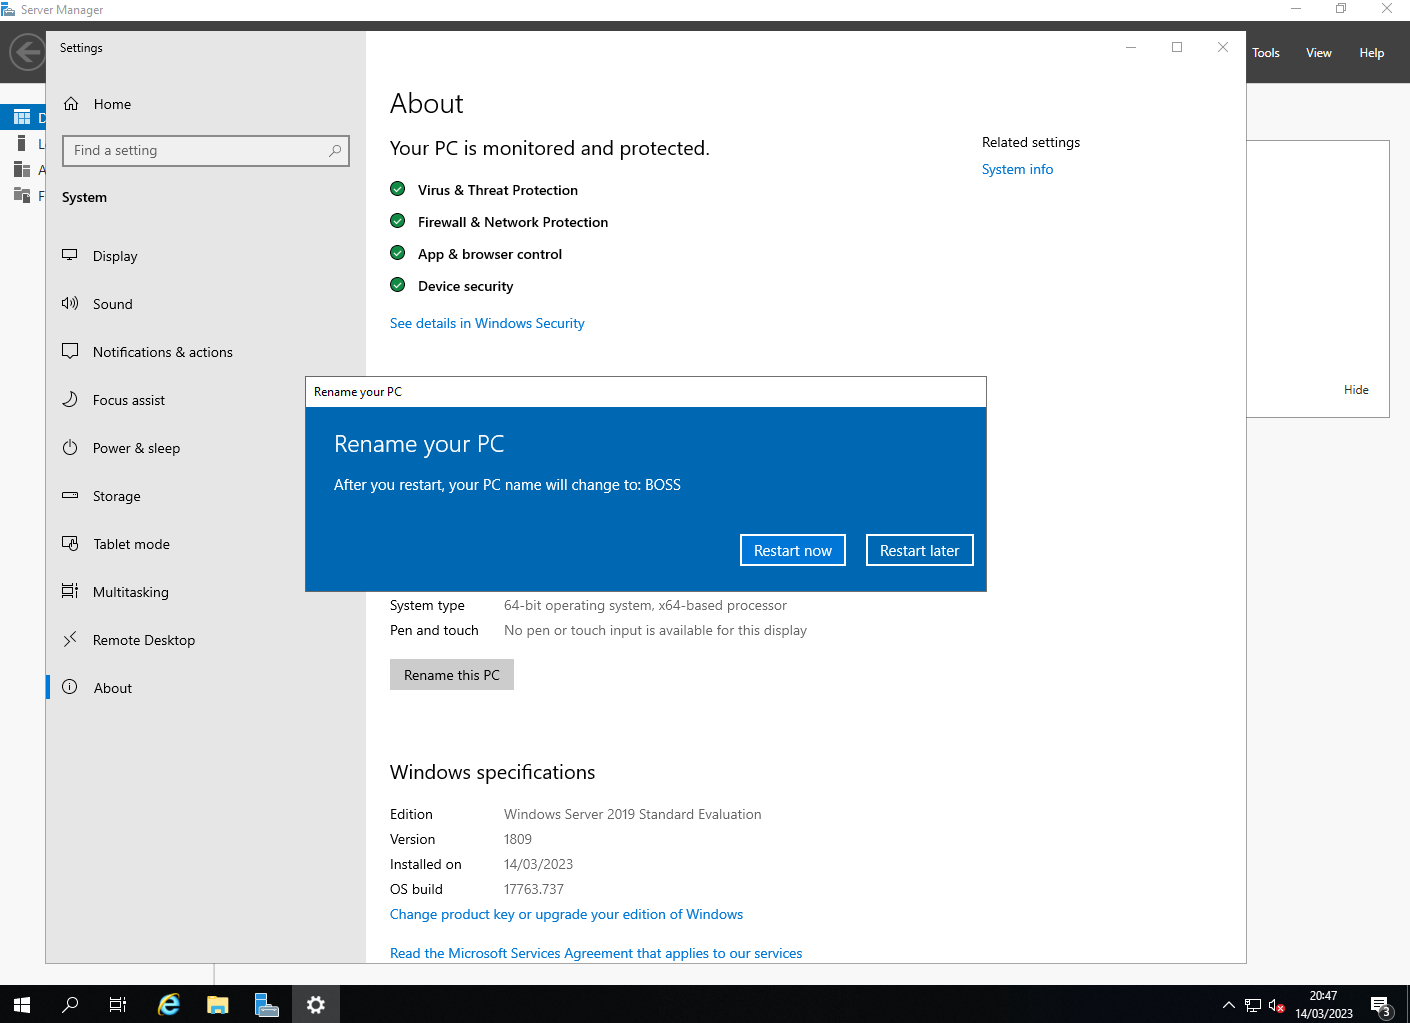
We are going to make one more change before restarting and that is changing the PC name. Open windows settings and search for 'name' to locate the 'View your PC name' option - select this option.
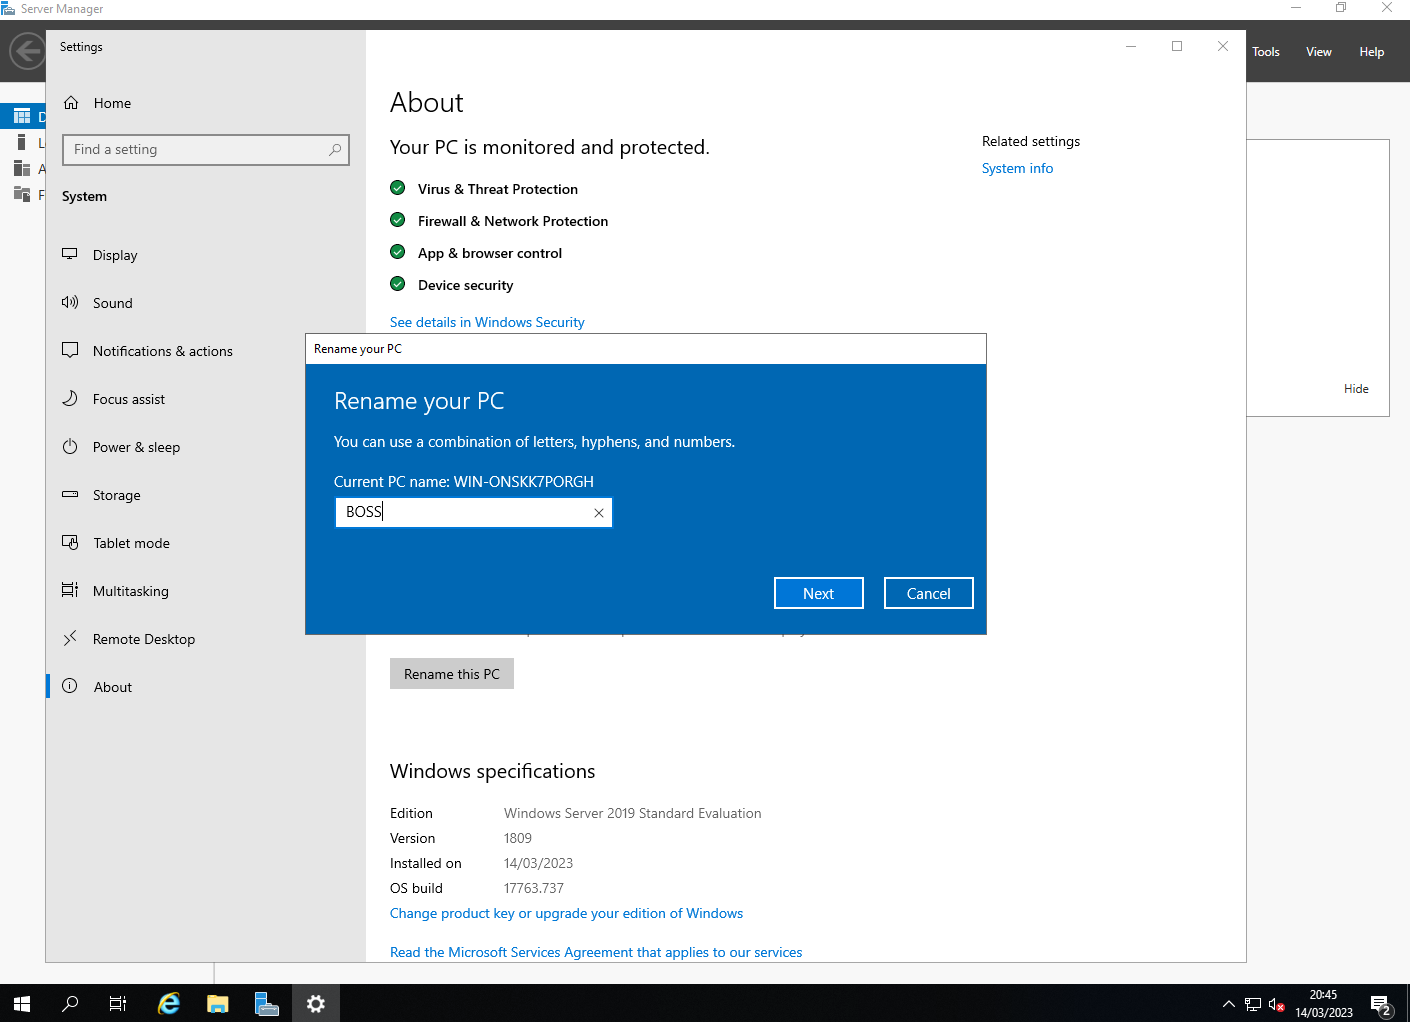
Rename this server to 'BOSS' and select 'Next':
Now restart the VM:
You now need to complete the exact same steps on the other two servers - changing their names to 'DORA' and 'FILO' respectively. At this stage our servers are ready for setup.